


Boat dewinterizing: how to get your boat back in service after winter?
Check sensitive parts before the first trip to reduce the risk of early-season breakdowns.
Boat dewinterizing is the complete process of putting a boat back into service after winter.
It refers to checking the hull, engine, battery, electrical system, safety equipment and onboard fittings.
A good dewinterizing process follows a logical order: dry inspection, mechanical checks, electrical tests, safety inspection, then a dockside test.
This preparation reduces restart failures and helps secure the first trip of the season.
How do you dewinterize a boat step by step?
To carry out boat dewinterizing properly, work from the most general checks to the most sensitive ones: exterior condition, hull, engine, fuel, battery, electrical system, safety equipment, then testing. This method prevents you from restarting too quickly a boat that has spent several months exposed to cold, humidity or simply inactivity.
Dewinterizing is also the reverse of winterizing: what was protected in autumn must be reactivated, checked and tested in spring. To review the full preparation process before storage, you can read our boat winterizing guide.
Where should you start?
Start with a complete visual inspection. Look for traces of moisture, cracks, drips, oxidation, tired hoses and loose parts. This first overview helps identify urgent issues before touching the engine.
Which order should you follow?
The safest order is simple: hull and bottom, engine and transmission, battery and electrical circuit, safety equipment, then dockside test. Each step confirms that the next one can be performed without taking unnecessary risks.
What should you prepare before working?
Prepare consumables, basic tools, likely wear parts, a voltmeter, cleaning products for connections and the engine documents. A well-prepared dewinterizing process avoids repeated stops in the middle of the inspection.
When should you dewinterize your boat?
You should dewinterize your boat when the risk of frost has passed and the return to boating is genuinely close. In practice, the ideal period is often spring, but it depends on the region, storage method and how often you plan to go out.
Dewinterizing too early may force you to protect some circuits again if cold weather returns. On the other hand, waiting until the last moment often leads to rushed checks. For boaters who also go out off season, our guide to winter boating helps adapt checks to colder conditions.
Which spring period should you choose?
Choose a period when temperatures remain stable and the launch is planned soon. The right time is not just a date: it is the balance between weather, availability and the boat’s real state of preparation.
Can you dewinterize too early?
Yes. If a cold snap occurs after recommissioning, some water circuits, pumps or hoses may be exposed again. It is better to prepare parts in advance, then carry out the work when the return to use is realistic.
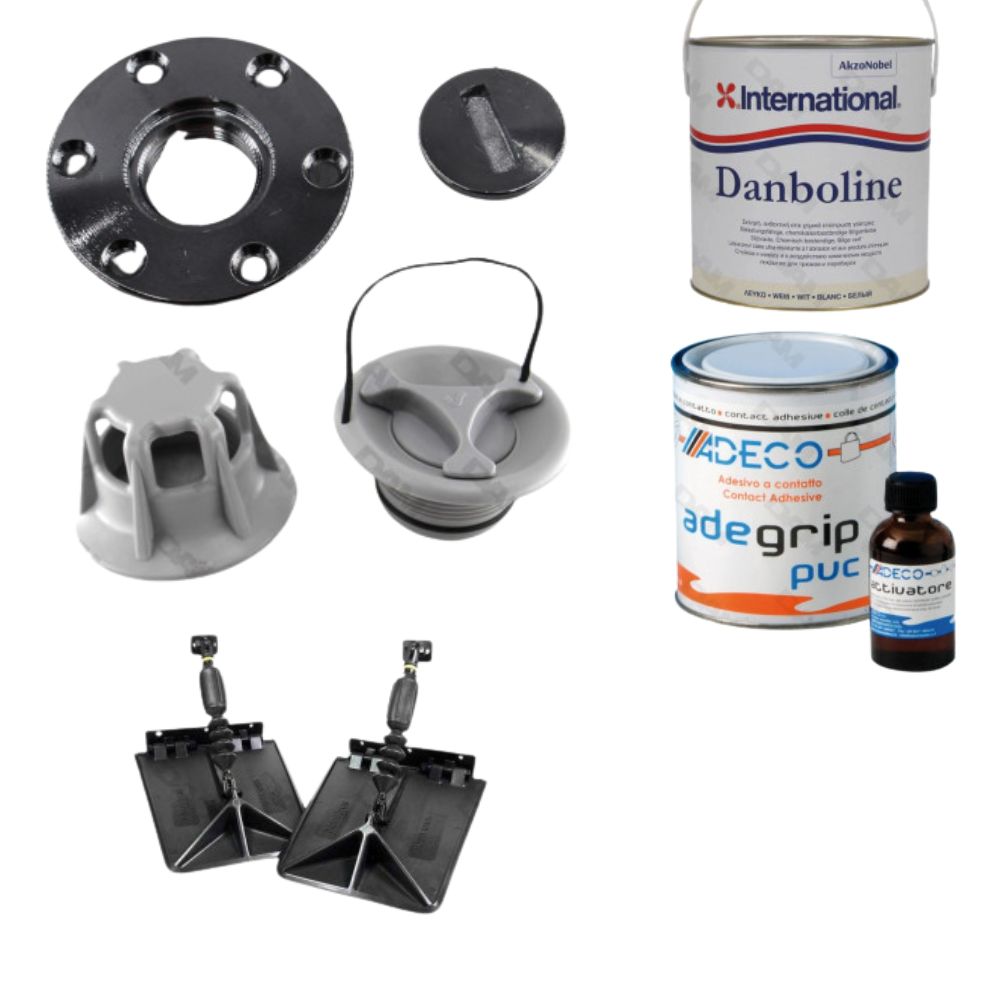
What should you check on the hull before launch?
Before launch, the hull must be clean, sound and properly protected. Boat dewinterizing is the ideal time to spot cracks, impacts, rubbing areas, traces of corrosion and the condition of the bottom.
To go further on this step, the DAM Marine guide on how to clean and prepare the boat bottom explains the useful checks and actions before the season restarts.
If you are unsure which areas to inspect, our guide to boat anatomy helps you locate the different parts of the boat before checking each element.
How should you inspect the gelcoat?
Gelcoat is the outer layer that protects the hull. Look for chips, deep scratches, blisters or cracks. A small mark may only be cosmetic, but an open or infiltrated area must be treated before the season.
Should you renew the antifouling?
Antifouling limits the attachment of marine growth. If it is worn, uneven or too old, the hull loses efficiency and fuel consumption may increase. To choose the right product, read our guide on how to choose the right antifouling for your boat.
Once the product has been chosen, the guide to apply antifouling to the hull helps secure preparation before launch.
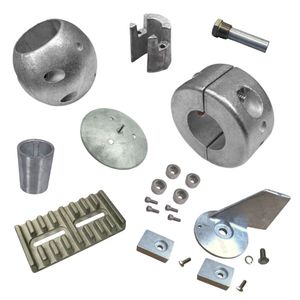
Why check the anodes?
Anodes protect metal parts from electrolytic corrosion. If they are heavily worn, replace them before launch. Our article on the different types of boat anodes explains their role and replacement.
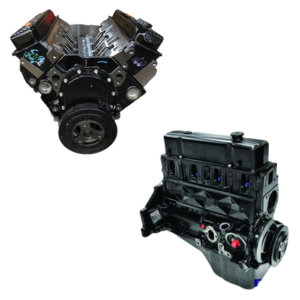
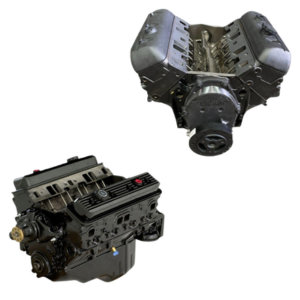
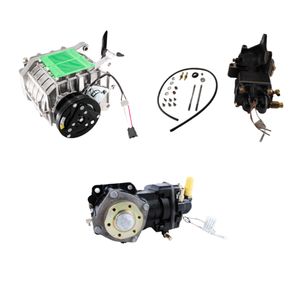
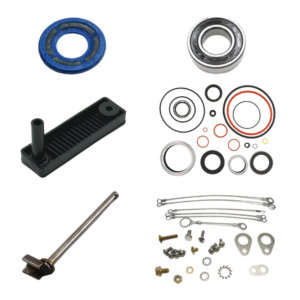
How do you dewinterize a boat engine safely?
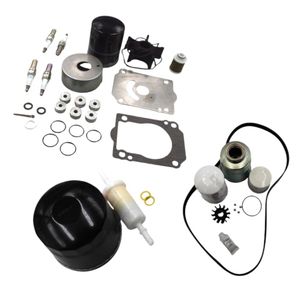
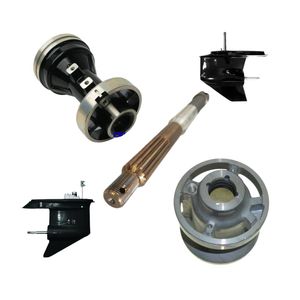
To dewinterize a boat engine, you need to check the fuel, filters, oil, cooling system, propeller, drive and the first signs when starting. This is the most sensitive step, because many faults appear exactly when the season restarts.
To place these checks within a broader view, you can also understand the boat propulsion system.
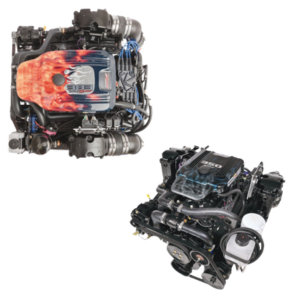
The principle is the same for outboard and inboard engines: do not force an engine that shows an unusual symptom. Fuel smell, an alarm, excessive smoke, abnormal temperature or unstable idle should stop the test.
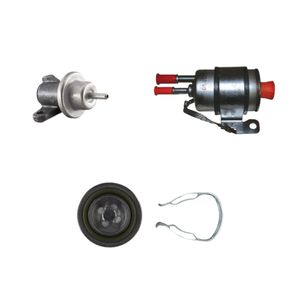
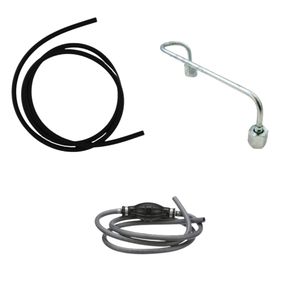
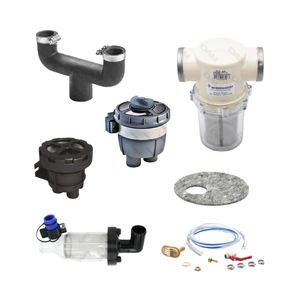
What should you check on the fuel system?
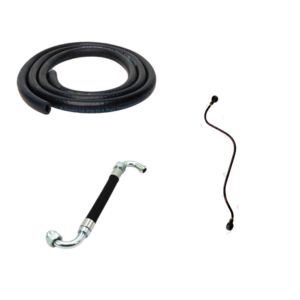
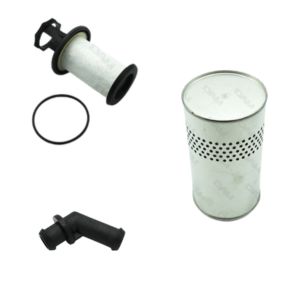
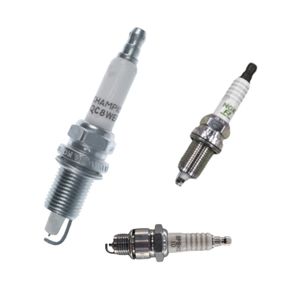
Fuel can absorb water or impurities during winter. Inspect the water-separating filter, fuel filters, hoses and fittings. To understand the system better, read about how a fuel system works and the signs of a faulty fuel system.
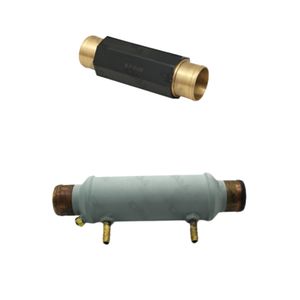
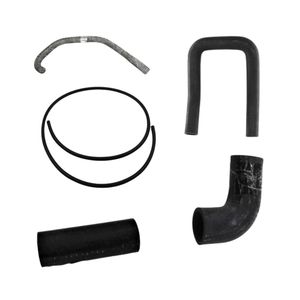
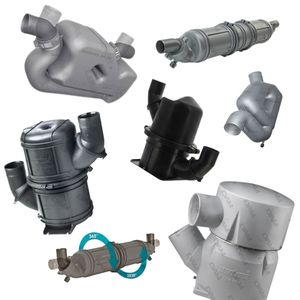
Why check the cooling system?
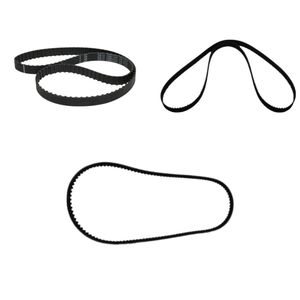
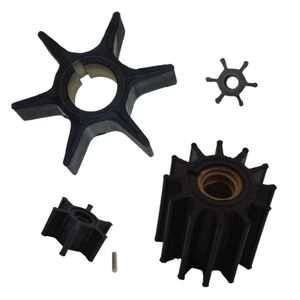
A partially blocked cooling circuit can cause a rapid rise in temperature. Check the water intakes, impeller, hoses and water flow. Our guide to how the cooling system works usefully complements the article on boat engine overheating.
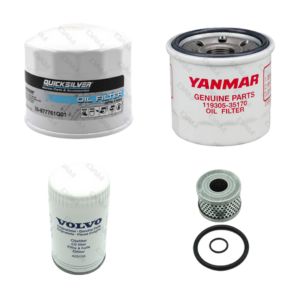
Should you change the oil during dewinterizing?
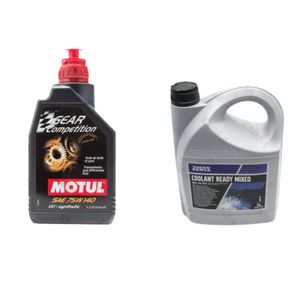
If the oil change was not done before winter, dewinterizing is the right time to start again with clean oil and filters in good condition. Always adapt consumables to the type of engine, whether it is a marine diesel engine or a petrol boat engine.
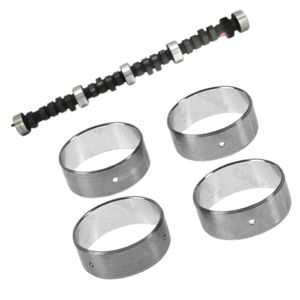
How should you inspect the propeller?
A damaged propeller can cause vibration, loss of efficiency and abnormal behaviour. Check the blades, hub, impacts, deformation and general condition. To go further, read about how a boat propeller works and its maintenance.
What if the engine is old?
On an old or poorly identified engine, start by finding the references before ordering a part. The guide to finding the engine serial number can help avoid compatibility mistakes.
How should you think if you change engine?
If dewinterizing reveals an engine that is too tired, it may be useful to compare options. DAM Marine provides guidance to choose between inboard and outboard engines and to choose a boat engine.
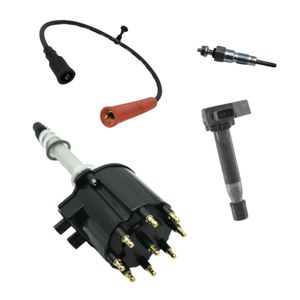
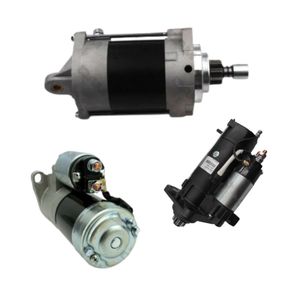
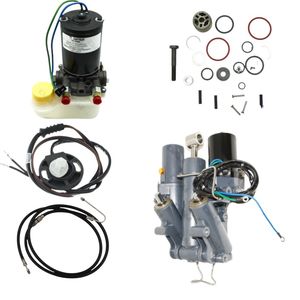
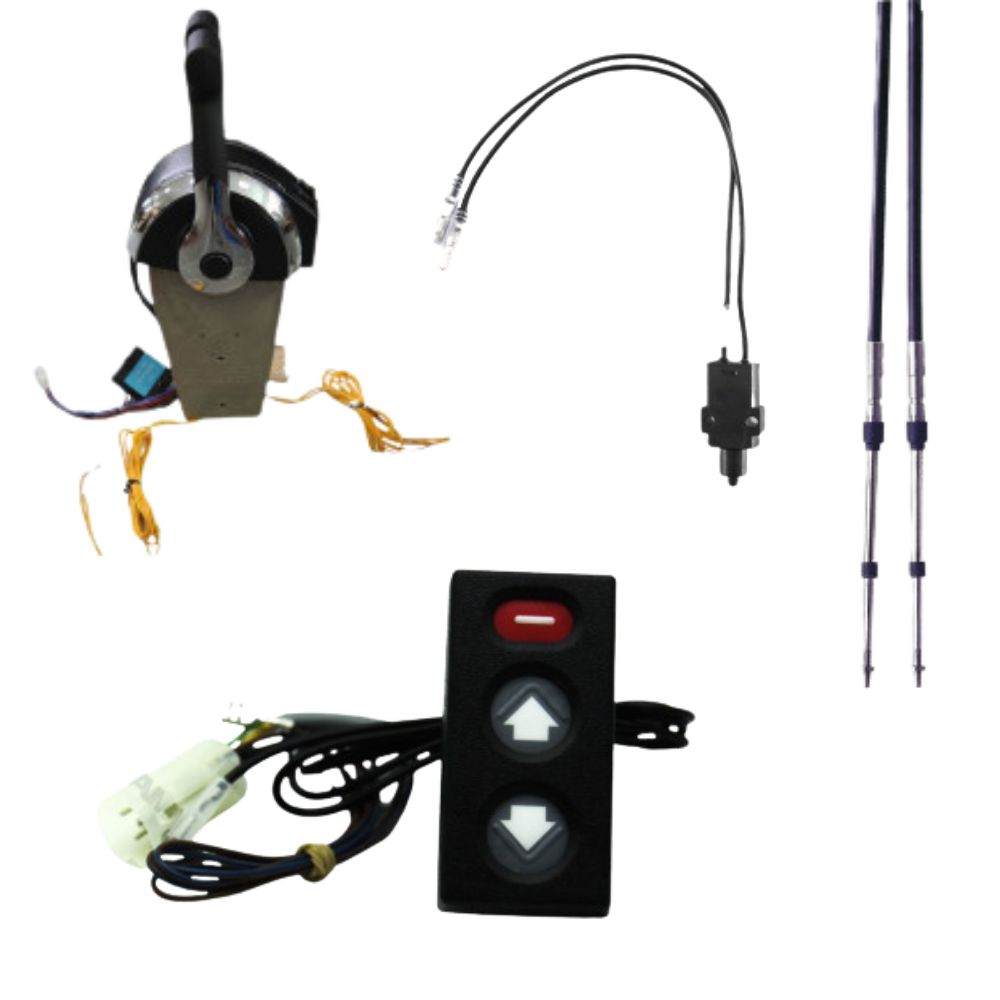
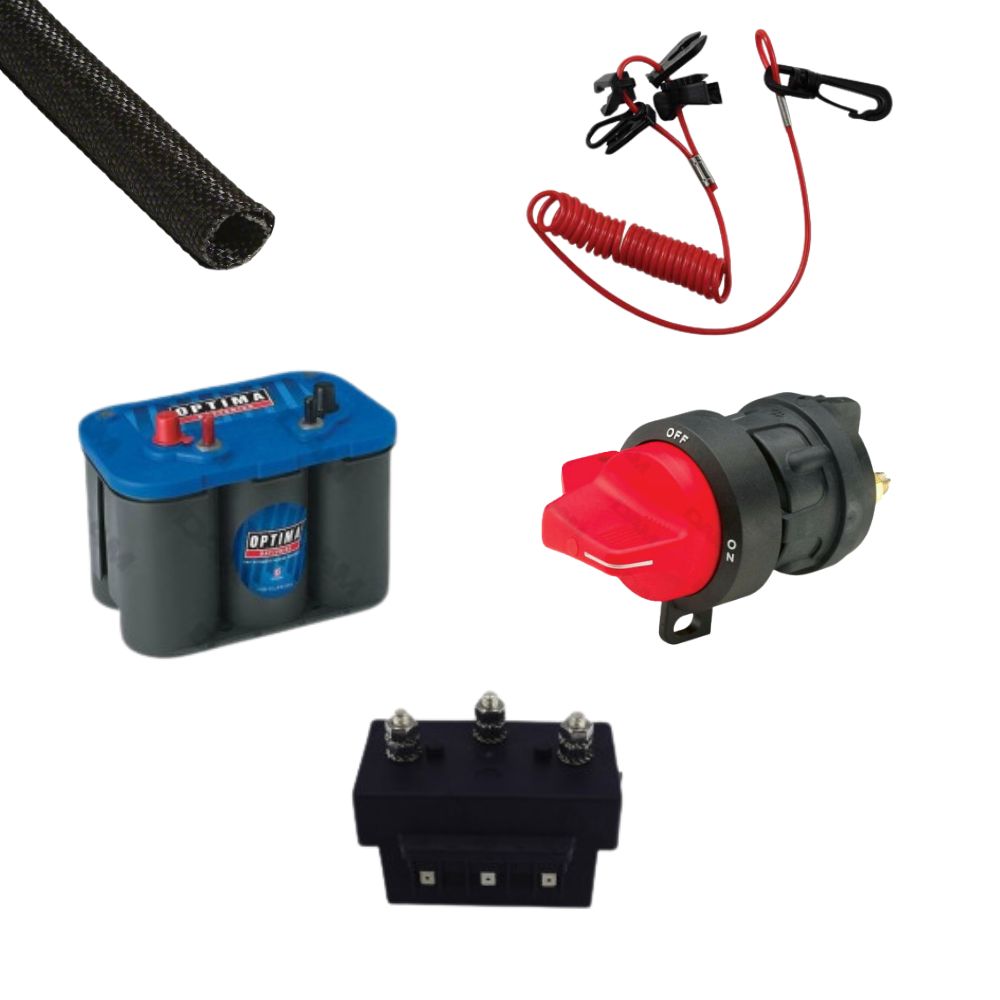
What battery and electrical checks should you perform?
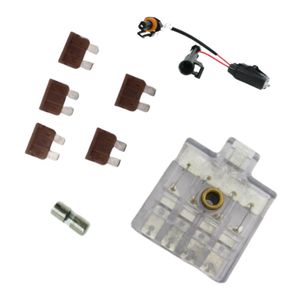
After winter, the battery and electrical connections must be tested before any trip. A weak battery, oxidised terminal or faulty fuse can prevent starting or disturb onboard equipment.
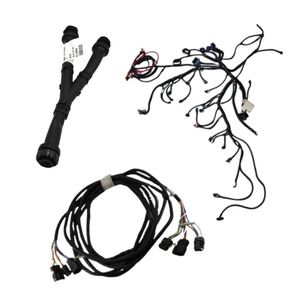
The electrical check is not limited to engine starting: it also covers lighting, instruments, bilge pump, VHF, fish finder, GPS, chartplotter, shore charger and onboard accessories.
How should you test the battery?
Measure resting voltage with a voltmeter. A fully charged battery generally reads around 12.6 to 12.8 V. If it does not hold charge, plan ahead. The guide to boat battery maintenance and the article on the battery booster can help.
If the battery no longer holds charge correctly, it may also be useful to choose a battery suited to your boat before the season starts again.
Before the first start, the guide to properly recharge the boat batteries completes this check.
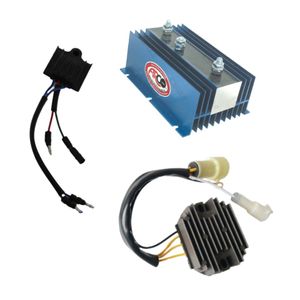
What should you check on connections?
Clean terminals, check tightening, inspect cables and look for oxidation. Salt and humidity can degrade current flow. To review the basics, read our article on how electricity works on a boat.
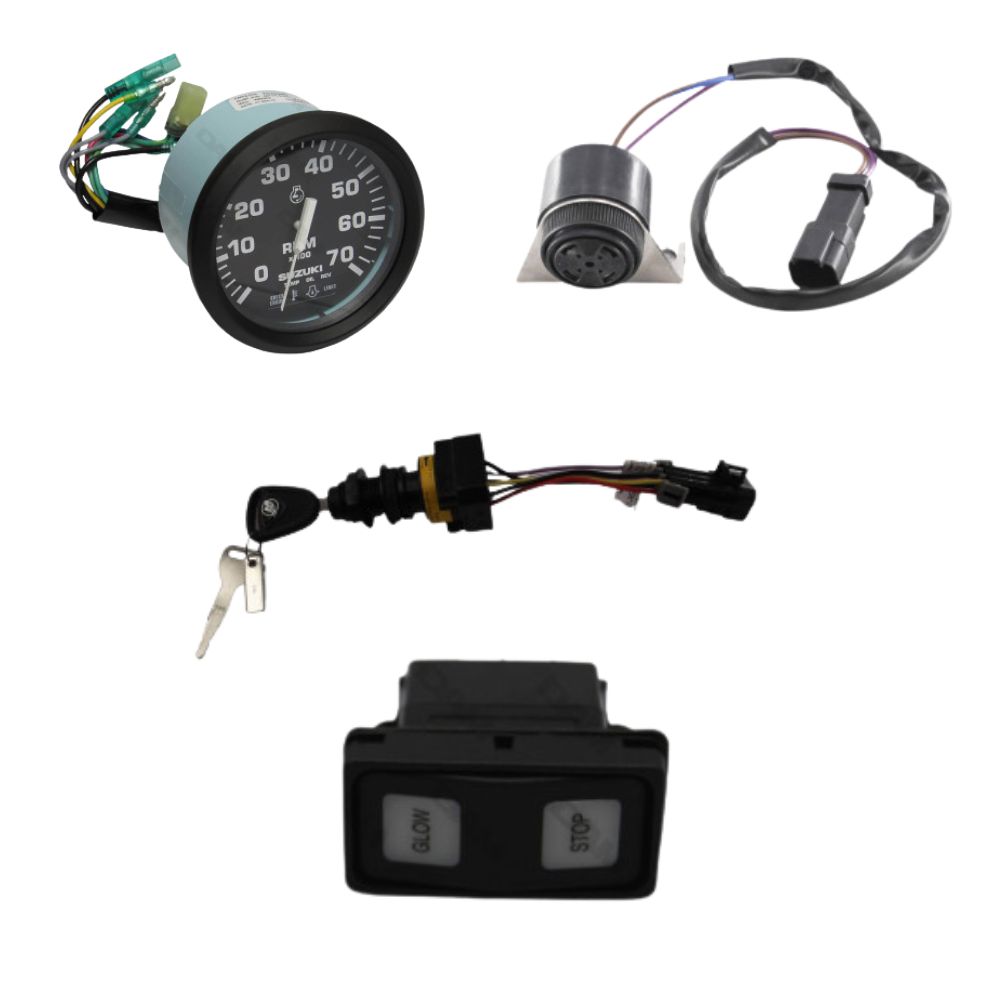
Which onboard devices should you test?
Switch on each item of equipment: instruments, lights, bilge pump, VHF, fish finder, GPS, chartplotter and AIS. The guides on marine VHF radio, fish finders, AIS technology and navigation instruments can complete your checks.
If the boat has several batteries or many consumers, also check the overall energy balance onboard. The guide on how to manage energy onboard a boat helps anticipate electrical needs while boating.
To monitor voltage and available capacity more accurately, you can also connect a boat battery monitor.
Which safety equipment should you check before boating?
Safety equipment must be checked as seriously as the engine. A boat may start perfectly but become unsafe if life jackets, lights, bilge pump, VHF or anchoring equipment are not operational.
Boat dewinterizing is therefore the right time to inventory equipment, check expiry dates and replace anything worn, incomplete or unsuitable for the planned navigation.
What should you check on life jackets and mandatory equipment?
Check the condition of life jackets, their number, fastening systems and the cartridges on inflatable models. Also check lighting devices, the first-aid kit and signalling equipment. Our article on the safety equipment to have on your boat details the essentials.
Why test the bilge pump and lights?
The bilge pump removes water collected in the hull. Lights ensure your visibility. Test activation, discharge, bulbs, connections and switches. To go further, read how to choose your bilge pump and the guide to mandatory navigation lights.
What should you check for anchoring and mooring?
Inspect the anchor, chain, shackles, mooring lines and fenders. These elements protect the boat in port and at anchor. The guides on anchoring techniques, mooring, choosing mooring lines and fenders can guide you.
How should you perform the first start after boat dewinterizing?
The first start should be progressive, ideally dockside, while observing the engine for several minutes. The goal is to confirm cooling, idle, absence of leaks, response to controls and absence of abnormal symptoms.
Do not leave immediately if the engine hesitates, stalls, smokes, vibrates or overheats. These signs may indicate a simple issue to fix dockside, but one that is much riskier at sea.
If a warning light or alert appears on the dashboard, the guide to understanding boat warning lights helps interpret the signal before continuing.
What should you do if the engine does not start?
First check the battery, kill switch, fuel supply, connections and fuses. If the symptom persists, our guide on a boat engine that will not start covers the most common causes.
What should you monitor at idle?
The engine speed should remain stable. An engine that stalls, coughs or will not hold idle may indicate a fuel, ignition, air or fouling issue. Read the guides on an engine that stalls and an engine that will not hold idle.
Which signs mean you should stop the test?
Stop the engine in case of excessive smoke, metallic noise, fuel smell, alarm, overheating, loss of power or abnormal vibration. The articles on a smoking boat engine, loss of power and engine vibration help guide the diagnosis.
During the first trip, increase engine speed gradually and observe the boat’s behaviour. Trim, propeller condition, onboard load and engine adjustment can influence performance. For more economical boating after recommissioning, you can also read our guide to using less fuel onboard.
If the check reveals a more serious fault, the article on boat engine repair can help you decide whether to repair, investigate further or consider replacement.
What mistakes should you avoid when dewinterizing a boat?
The main mistakes are restarting too quickly, neglecting the battery, forgetting safety items or going to sea without a progressive test. Boat dewinterizing must remain a complete preparation, not just an engine start.
Should you avoid starting without checking?
Yes. An engine can start despite a tired hose, clogged filter or insufficient cooling. The risk is turning a simple defect into a more expensive breakdown.
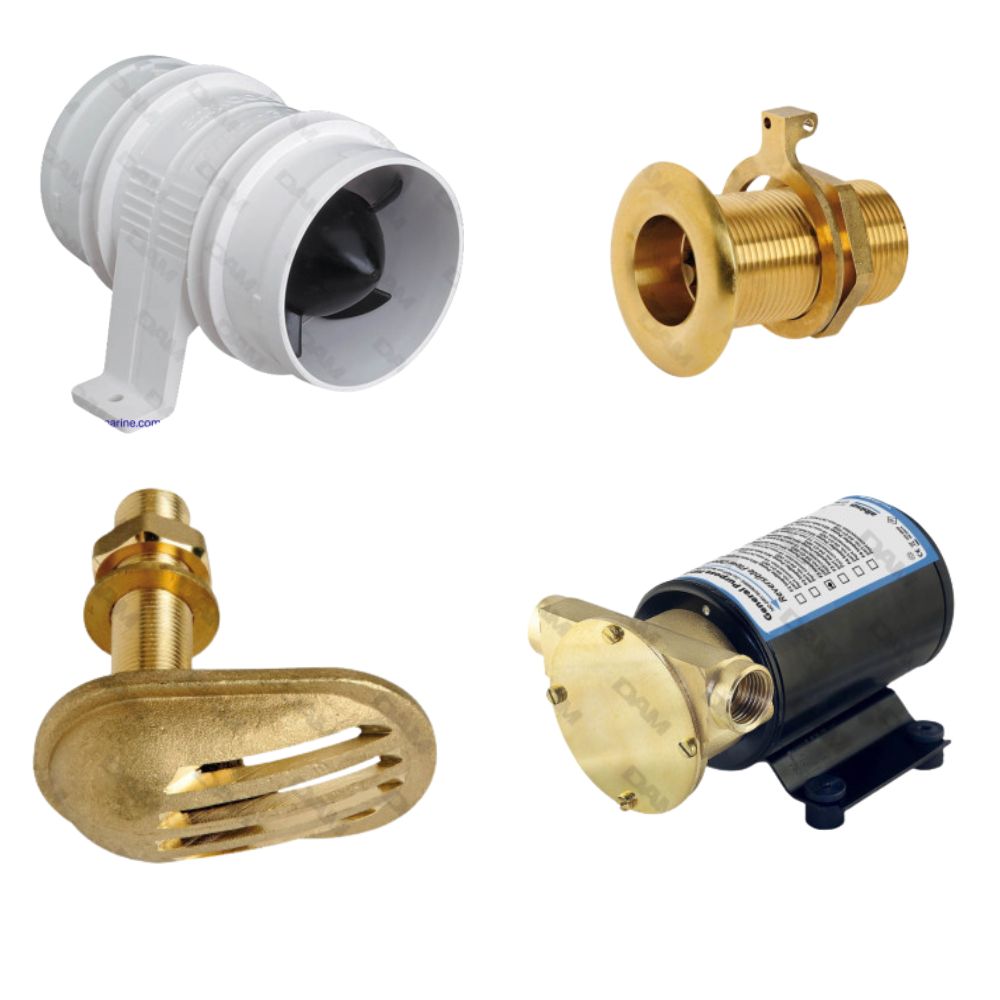
Why not forget the plumbing?
Fresh water circuits, pumps, valves and fittings may have suffered during winter. Our guide to boat plumbing helps you understand the points to watch onboard.
Why test before loading the boat?
Test essential systems before loading all the season’s equipment. You will save time if work is needed and avoid moving equipment unnecessarily.
Which checklist should you follow to dewinterize your boat?
The boat dewinterizing checklist should cover all systems required for a reliable restart: hull, engine, fuel, cooling, battery, electrical system, safety and testing. The table below summarises the priority checks before the first trip.
| Area to check | Main checks | Recommended action |
|---|---|---|
| Hull and bottom | Gelcoat, cracks, impacts, fouling, antifouling | Clean, repair visible defects and renew antifouling if necessary |
| Anodes and corrosion | Anode wear, corrosion on metal parts, drive or appendages | Replace over-worn anodes and treat corrosion traces |
| Engine | Oil, filters, fuel, cooling, hoses, leaks | Change oil if needed, replace wear parts and test dockside |
| Propulsion | Propeller, drive, hub, vibrations, impact marks | Inspect, clean and replace damaged elements |
| Battery and electrical system | Voltage, charge, terminals, cables, fuses, instruments | Recharge, clean connections and test each item of equipment |
| Safety | Life jackets, signalling, lights, VHF, bilge pump, anchoring | Replace expired or defective equipment before boating |
| Final test | Start, idle, temperature, smoke, noise, acceleration | Perform a dockside test, then a progressive first trip |
What should you ask yourself before finishing the boat dewinterizing process?
Before considering dewinterizing complete, validate the final practical points: time required, difficulty level, useful equipment and whether a professional may be needed.
How long should a full dewinterizing process take?
For a small well-maintained boat, half a day may be enough. For a more equipped boat, an engine that needs an oil change, a full electrical check or antifouling renewal, plan for a full day, or more if parts need replacing.
Can you dewinterize your boat yourself?
Yes, a large part of the dewinterizing process can be done yourself if you follow a rigorous method. However, complex engine operations, persistent alarms, cooling problems or major electrical faults justify calling a professional.
What equipment should you prepare before starting?
At minimum, prepare cleaning supplies, a voltmeter, gloves, suitable engine consumables, necessary filters, possible anodes, technical documents and up-to-date safety equipment. The goal is to avoid stopping the inspection because a part is missing.
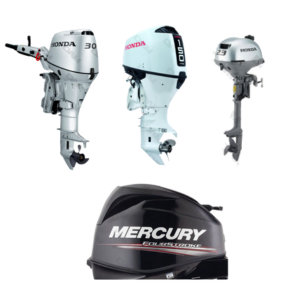
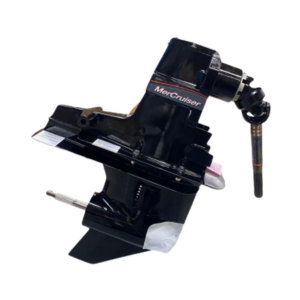
Is dewinterizing different between outboard and inboard engines?
The logic remains the same, but access points change. An outboard requires particular attention to the lower unit, cooling tell-tale and propeller. An inboard often requires a more detailed check of internal circuits, engine access, hoses and the bilge.
Should you do a sea trial after the dockside test?
Yes, a progressive sea trial is recommended. The dockside test confirms starting and basic functions, but some problems only appear under load: rising temperature, vibrations, loss of power, steering behaviour or abnormal efficiency.
Find the parts and equipment you need to prepare your boating season with DAM Marine.