


DAM Marine helps you equip your boat with gear suited to your mooring berth.
Mooring a boat means keeping it in place with mooring lines fixed to a quay, pontoon, buoy or lazy line. A good mooring relies on three elements: suitable ropes, correctly adjusted fenders and reliable knots. Tension must remain flexible to absorb wind, chop and passing boats. The most common mistakes come from lines that are too short, too tight or poorly protected against chafe.
What does mooring a boat mean?
Mooring a boat, means keeping it still at a fixed point: quay, pontoon, buoy, lazy line or mooring buoy. This attachment is made with mooring lines, also called warps depending on the region and usage.
The aim is twofold: prevent the boat from moving forward, backward or sideways, then absorb movements caused by wind, chop or wash. A successful mooring is therefore not a “locked” mooring: it holds the boat in place while allowing the lines to work. To place these reactions within how a boat works, it helps to think about balance, buoyancy, propulsion and loads on the hull.
Do not confuse it with anchoring a boat, which means holding it with an anchor. Docking means coming alongside the quay or pontoon, lashing means securing a load onboard, and unmooring or casting off means departure.
What equipment should you prepare to moor a boat properly?
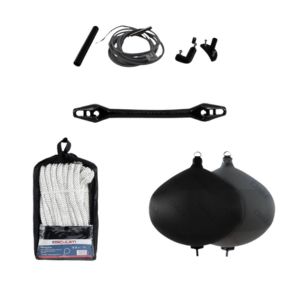
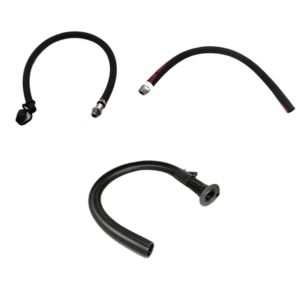
To moor a boat properly, you need suitable mooring lines, well-positioned fenders and protective accessories against snatching and chafe. This trio limits stress on the hull, cleats, quay and ropes.
What are mooring lines used for?
Mooring lines connect the boat to the fixed point. They must be strong, in good condition and ideally flexible enough to absorb movement. To go further, DAM Marine offers a dedicated guide to choosing mooring lines for your boat.
Why are fenders essential?
The fenders absorb rubbing and small impacts against the quay, pontoon or another boat. Their height and spacing must be adjusted before the approach, especially if the wind pushes the boat sideways.
When should you add a snubber or protection?
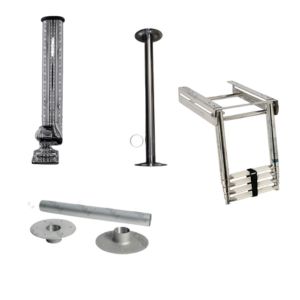
A mooring snubber reduces snatching caused by gusts, chop or passing boats. Anti-chafe protection prevents rope wear on an edge, ring, fairlead or quay corner.
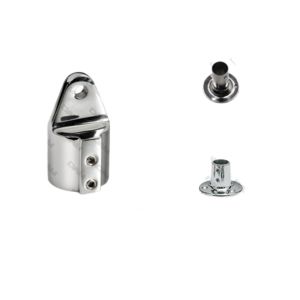
Depending on the setup, a stainless-steel shackle, swivel or boat hook can also be useful for retrieving a lazy line, catching a buoy or securing a connection. The principle remains simple: each line must be easy to understand, protected at chafe points and made fast to a fitting designed to take the load.
How should you prepare the mooring before reaching the quay?
Preparing the mooring means positioning the fenders, taking out the mooring lines and assigning roles before entering the berth. Many difficulties come from a boat that is still “bare” during the approach.
Prepare at least a bow line and a stern line, identify the available cleats, rings, bollards or lazy lines, then keep a boat hook within reach if you need to grab a line. For safety, never wrap a mooring line around your hand: a sudden snatch can become dangerous very quickly.
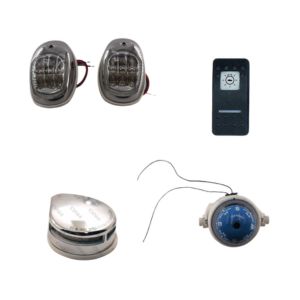
Two principles sum up the idea: always absorb movement, because the mooring must absorb motion, and always protect, because any rubbing point will eventually wear the rope. Before a trip or a harbour manoeuvre, reminders about navigation rules at sea can also help secure the approach. When arriving at night or in poor visibility, navigation lights and AIS technology also improve anticipation around the harbour.
What are the main boat mooring techniques?
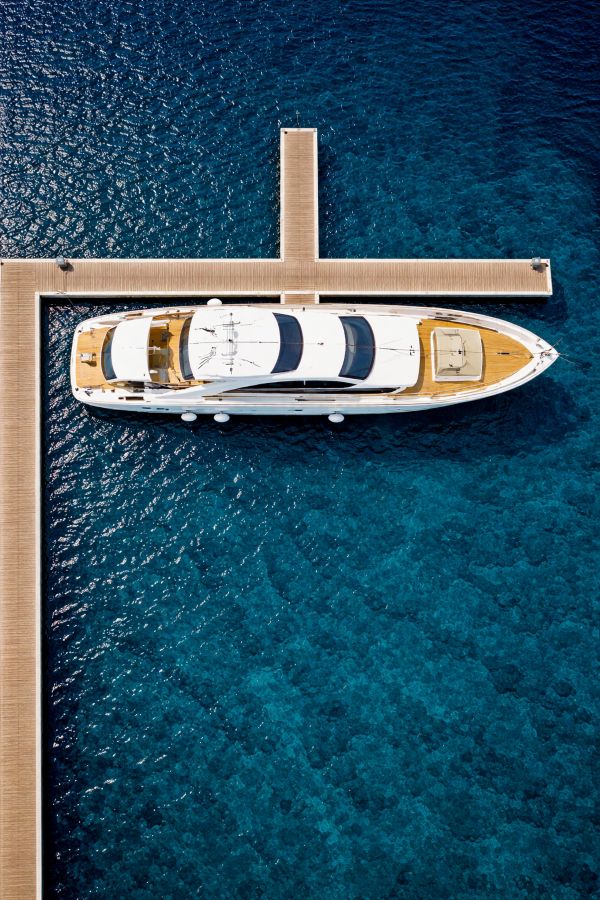
The main mooring techniques depend on the berth available: alongside a quay, on a finger pontoon, stern-to, alongside another boat or on a buoy. In every case, the aim is the same: prevent the boat from moving forward or backward, control its distance from the dock and avoid hard contact with the quay or other boats.
Mooring alongside a quay is the most common method: the boat is parallel and you use a bow line, a stern line and, if needed, spring lines to limit forward/backward movement. On a floating pontoon, avoid lines that are too short or too tight, because the water level and the pontoon can move.
How does stern-to mooring work?
Stern-to mooring is common in the Mediterranean. The boat is perpendicular to the quay, stern close to the edge, with two stern lines and a bow hold by lazy line or sometimes by anchor depending on the port.

How do you moor a boat on a finger pontoon?
On a finger pontoon, the boat is placed alongside a floating walkway perpendicular to the main pontoon. Bow lines, stern lines, spring lines and breast lines stabilise the boat despite the movement of the support.
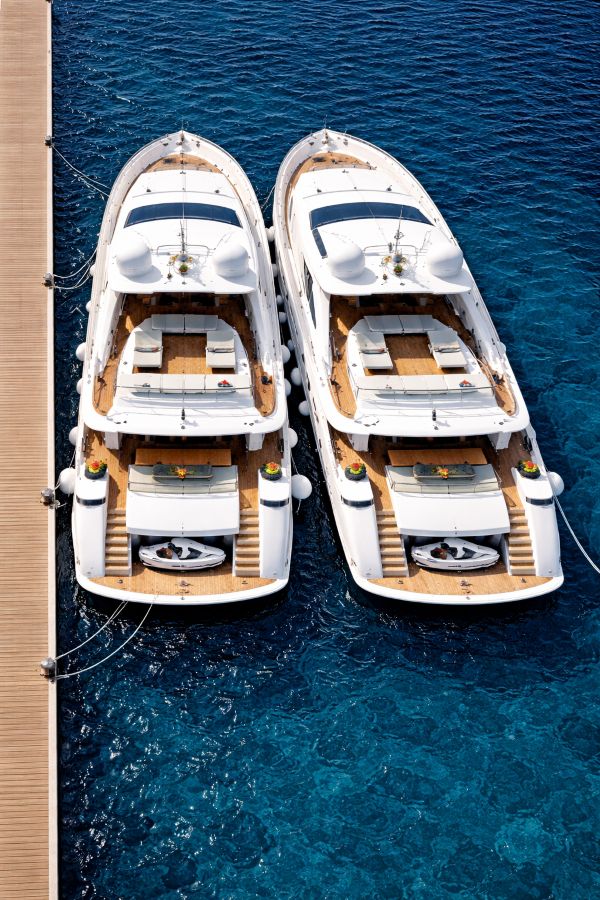
When should you raft up?
Rafting up means placing two boats side by side. It requires plenty of well-distributed fenders and balanced mooring lines to prevent knocks between hulls.
How do you secure a mooring on a buoy or mooring buoy?
A buoy or mooring-buoy setup must distribute the load. In calm stopovers, one line may be enough, but for a longer stay or uncertain weather, two independent lines provide extra safety.
How do you choose your mooring setup according to the port, weather and boat?
The right mooring setup depends on the port layout, wind exposure, chop, length of stay and boat size. A quay or pontoon often favours alongside mooring, a finger pontoon requires precise adjustment, a lazy line points to stern-to mooring, and a buoy requires the load to be properly distributed.
Weather also changes the priority. A crosswind requires more attention to fenders and spring lines. Agitated water justifies snubbers and monitoring of chafe zones. For a long stay, the right reflex is to combine comfort and durability: doubled lines if needed, anti-chafe protection and regular checks. If the boat remains laid up for a long period, boat winterization also helps organise checks before inactivity.
The type of boat also matters: freeboard height, hull shape, cleat position and windage influence the adjustment. To better visualise these elements, you can read the DAM Marine guide to the different parts of a boat.
The choice of fenders depends on boat size, hull height and the type of berth in the harbour.
Which knots should you know to moor a boat?
To moor efficiently, three knots cover most leisure-boating situations: the bowline, the clove hitch and the round turn with two half hitches. The important thing is not to know ten knots, but to master those that can be checked quickly and undone properly after being under tension.
Useful vocabulary: the standing part is the long part of the line, the one that takes the load. The working end is the free end, the one handled to tie the knot.
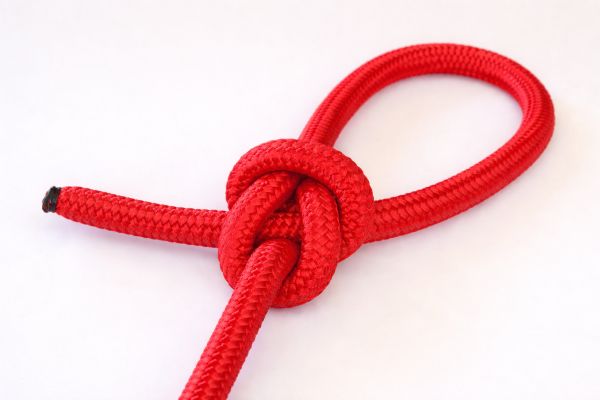
What is the bowline used for?
The bowline forms a fixed loop that does not tighten under tension. It is useful for creating a reliable loop at the end of a mooring line, provided it is tightened properly and its shape is checked.
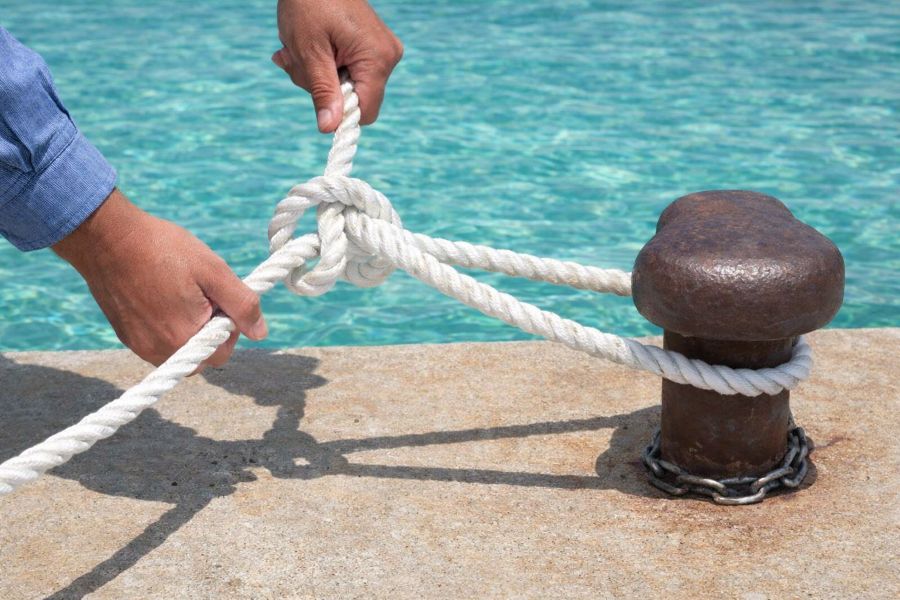
When should you use the clove hitch?
The clove hitch is quick on a bollard or post. For a mooring left in place, it is better to secure it with one half hitch, or even two if the line works a lot.
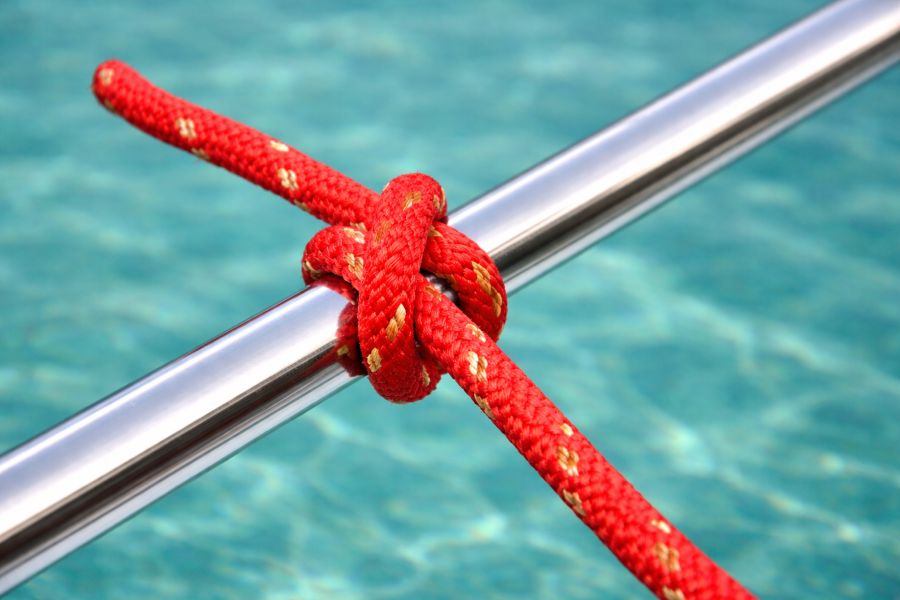
Why make a round turn + two half hitches?
The round turn absorbs part of the pull before the locking turns. The two half hitches then hold the working end around the standing part. This knot is clear, strong and easy to check.
How do you choose the length and diameter of mooring lines?
The diameter and length of mooring lines are chosen according to boat length, weight, berth layout and exposure conditions. The references below give approximate leisure-boating values; when in doubt, it is better to size slightly up and protect chafe zones.
How many mooring lines should you have as a minimum?
- Alongside a quay or pontoon: at least two mooring lines, one bow line and one stern line, with one or two spring lines if the boat moves.
- Stern-to: two stern lines and one bow line by lazy line or anchor, ideally doubled for a long stay.
- Buoy or mooring buoy: one line may be enough for a very calm stopover, but two independent lines are more reassuring.
Which mooring-line diameters should you choose for a leisure boat?
| Boat length | Mooring-line diameter | Useful line length | Recommended number of fenders |
|---|---|---|---|
| 6 to 8 m | 10–12 mm | 8–10 m | 3 to 4 |
| 8 to 10 m | 12–14 mm | 10–12 m | 4 to 5 |
| 10 to 12 m | 14–16 mm | 12–14 m | 5 to 6 |
| 12 to 15 m | 16–18 mm | 14–16 m | 6 to 8 |
| 15 to 18 m | 18–22 mm | 16–20 m | 8 to 10 |
Tip: if your berth requires long lengths, for example with distant rings or a long finger pontoon, plan for at least two long and versatile mooring lines.
How do you adapt mooring lines to berth size?
| Berth | Common setup | Main mooring lines | Recommended reinforcement |
|---|---|---|---|
| 8 m × 3 m | Quay / pontoon | 2 × 10–12 mm, 8–10 m | 1 spring line + 4 fenders |
| 10 m × 3.5 m | Quay / pontoon | 2 × 12–14 mm, 10–12 m | 2 spring lines if choppy |
| 12 m × 4 m | Stern-to / lazy line | 2 stern + 1 bow, 14–16 mm | Snubber + anti-chafe protection |
| 15 m × 4.5 m | Exposed berth | 4 main lines, 16–18 mm | Double up for a long stay |
Which rules and best practices should you follow to moor a boat?
Mooring rules depend on the harbour: local regulations always apply. In practice, it is generally forbidden to occupy a berth without permission, to attach equipment to the quay without approval or to moor to an installation not designed for that purpose. A marine VHF radio remains useful for contacting the harbour office or other users when the situation requires it.
The most common mistakes remain the same: line too tight, weak attachment point, no anti-chafe protection, fenders too low or too high, and an unsecured knot. A line made fast to a lifeline, stanchion or handrail can break or damage the boat.
Conversely, good habits include doubling a line if needed, regularly checking wear, adding a snubber when the boat often pulls, and preparing protection before the approach. For a broader view of onboard safety, also read the DAM Marine guide to safety equipment to have on your boat.
Which vocabulary should you know before mooring a boat?
Before mooring a boat, it is useful to know a few simple words. A mooring line is the rope that holds the boat. A cleat is a fastening fitting on the boat or pontoon. A bollard is a mooring post on the quay. A fairlead is a rope guide, often positioned where rubbing may be significant.
Common expressions include “make fast”, “moor up”, “unmoor” or “cast off”. In English, to moor generally means to secure the boat, while to dock refers more to coming alongside or berthing. Mooring lines are often called mooring lines or dock lines.
The difference to remember is simple: docking describes the approach, anchoring involves the anchor, and lashing concerns securing a load onboard. To better understand fastening points and line lead areas, the guide toboat anatomy complements these notions well.
What summary should you remember to moor a boat properly?
A good mooring is a balance between holding, flexibility and protection. Mooring lines prevent movement, fenders protect the hull, and accessories such as snubbers or anti-chafe protection extend the life of the setup.
| Situation | To prepare | Watch point |
|---|---|---|
| Quay or pontoon | Bow line, stern line, fenders | Avoid lines that are too short and too tight |
| Finger pontoon | Bow lines, stern lines, spring lines and breast lines | Take floating-pontoon movement into account |
| Stern-to | Two stern lines + bow hold | Protect the stern properly and balance tension |
| Buoy or mooring buoy | One or two independent lines | Distribute the load and monitor chafe |
| Long stay | Doubled lines, snubbers, anti-chafe protection | Check wear after strong wind or chop |
FAQ about mooring a boat
What is the best way to moor a boat as a beginner?
The simplest method is to prepare the fenders before entering the berth, keep one line ready at the bow and one at the stern, then adjust the tension gradually. The aim is a stable boat that can still absorb wind and chop movements.
Which knots are essential for mooring?
Three knots cover most situations: the bowline for a reliable loop, the round turn with two half hitches for a simple and strong fastening, and the clove hitch for a quick hold that should be secured if the boat remains alongside.
How many mooring lines are needed for a normal harbour mooring?
Plan for at least two mooring lines: one at the bow and one at the stern. If the boat moves forward or backward due to wind, passing boats or chop, one or two spring lines stabilise the whole setup much better.
Why avoid overly tight mooring lines?
A line that is too tight turns every movement into a sharp snatch. The boat then pulls on its cleats, the rope wears faster and onboard comfort suffers. Flexible tension keeps the boat in place while absorbing movement.
What is the difference between mooring to a quay and mooring to a pontoon?
The logic is similar: prevent the boat from moving forward, backward and away from the dock. The difference mainly comes from the floating pontoon, which can move with the water. Avoid lines that are too short and check that the angles remain consistent.
How do you moor stern-to without damaging the hull?
Set several fenders at the right height, balance the stern lines and monitor the bow hold, by lazy line or anchor depending on the port. Chafe zones must be protected, especially near fairleads or edges.