


Boat winterisation: the complete guide to protecting your boat throughout winter
Boat winterisation is a complete preparation process before a long period of inactivity. It protects the engine, hull, batteries, interior and onboard systems against moisture, salt, corrosion and frost. Proper winterisation reduces the risk of start-up problems and makes spring recommissioning easier. It can be done afloat, ashore, on a trailer or under cover depending on the boat and storage conditions.
What does boat winterisation really include?
Boat winterisation includes all the operations carried out before an extended period of inactivity. It is not just about covering the boat: you also need to clean, dry, protect the engine, check the batteries, secure the mooring or storage setup, manage moisture and prepare for spring recommissioning.
A boat spends winter in an aggressive environment, even when it is not being used. Salt, standing water, temperature changes, condensation and marine air continue to have an effect. The goal is simple: leave the boat clean, dry, protected and easy to inspect.
What should be protected first?
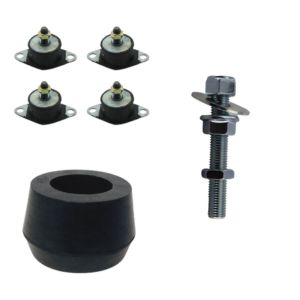
The engine, cooling system, fuel, batteries, hull, anodes, propeller, textiles and closed compartments should all be treated carefully.
Why is winterisation important?
It helps prevent hidden failures: corrosion, flat batteries, interior moisture, degraded fuel, difficult engine start-up or a clogged cooling system.
When should it be done?
Ideally, winterisation should be carried out just after the last regular outing, before salt, deposits and moisture have time to settle in permanently.
What are the risks if the boat is not winterised?
Without winterisation, problems often appear in spring: an engine that struggles to start, a flat battery, musty smells, moisture in lockers, corrosion on metal parts or a weakened cooling pump. Skipping pre-winter maintenance can turn small preventive actions into more expensive repairs.
A poorly protected engine may also show symptoms similar to a standard breakdown: hard starting, unstable idle, stalling, smoke, vibration or overheating. If these symptoms appear during spring recommissioning, diagnostics should be carried out step by step, just as you would for a boat engine that will not start, a boat engine that stalls or boat engine overheating.
What does salt cause?
Salt accelerates corrosion on metals, electrical terminals, screws, connectors and exposed engine parts.
What does moisture cause?
Moisture encourages mould, odours, electrical oxidation and deterioration of fabrics, cushions, lockers and woodwork.
What does inactivity cause?
Inactivity can cause fuel to age, seals to dry out, the impeller to deform and the battery to enter deep discharge.
Should you choose winterisation afloat or ashore?
The choice depends on the boat, your marina, your budget and your ability to inspect the boat regularly. Winterisation afloat is practical if the boat remains accessible and well moored. Winterisation ashore makes it easier to service the hull, underwater section, propeller, anodes and drive leg.
When should you choose winterisation afloat?
Winterisation afloat is suitable if the berth is sheltered, the mooring lines are reliable and you can regularly check bilge water, the bilge pump, cover and fenders.
When should you choose winterisation ashore?
Winterisation ashore is preferable for inspecting the underwater hull, replacing anodes, cleaning the propeller, checking the drive leg and preparing antifouling work.
When should you choose covered storage?
Indoor storage limits exposure to rain, wind and UV, but it does not remove the need to clean, dry, ventilate and protect the engine.
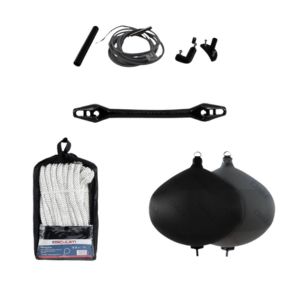
If the boat remains afloat, mooring quality becomes essential. Worn mooring lines or poorly positioned fenders can cause rubbing, impacts or accelerated wear during strong winds. To explore this further, you can read the guides on how to moor a boat, choosing mooring lines and choosing boat fenders.
How should you prepare your boat before winter?
To winterise a boat properly, start by emptying it, cleaning it and drying it. This basic step prevents many unpleasant surprises: embedded salt, damp lockers, damaged textiles, musty smells and safety equipment left in a humid environment.
What should be removed from the boat?
Remove cushions, textiles, lifejackets, portable electronics, food, bottles, moisture-sensitive equipment and any items that are not needed during winter.
What should be cleaned?
Clean the deck, cockpit, lockers, bilge, water drainage areas, hull, upholstery and all surfaces exposed to salt.
What should be inventoried?
Check expiry dates, safety equipment condition, engine consumables, mooring lines, fenders and parts that need replacing before the next season.
Winterisation is also a good time to review mandatory equipment and onboard safety items. If you are unsure about your equipment, the guide to safety equipment to keep on your boat helps you go back over the essentials before the next season.
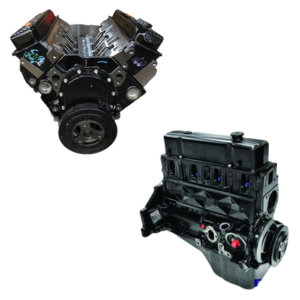
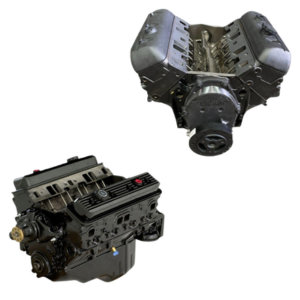
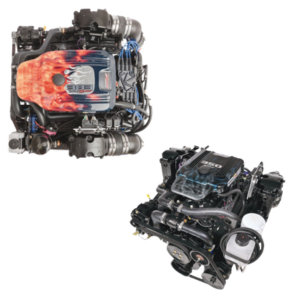
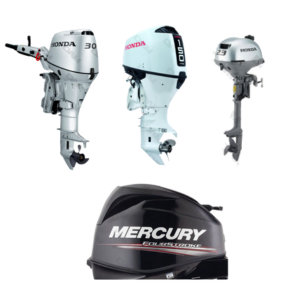
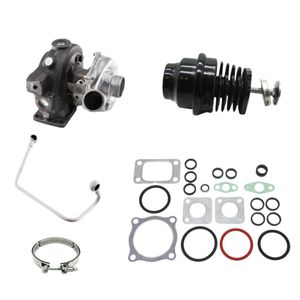
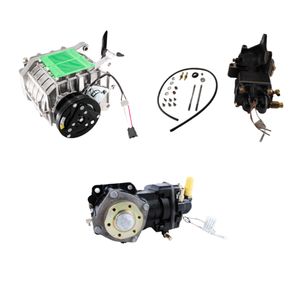
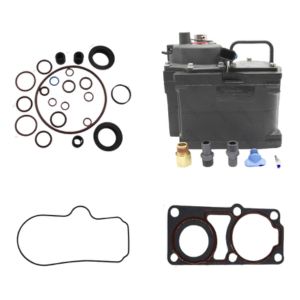
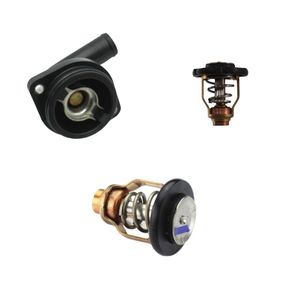
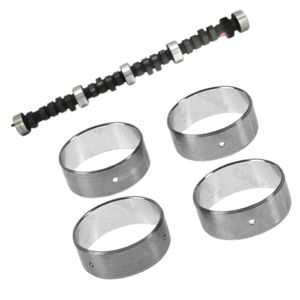
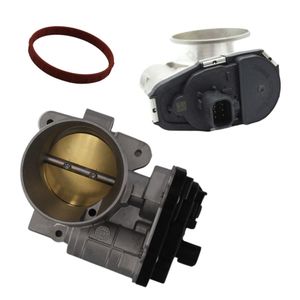
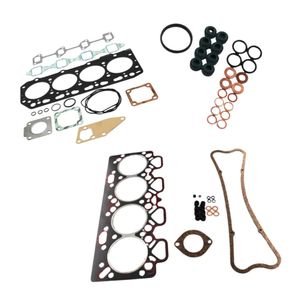
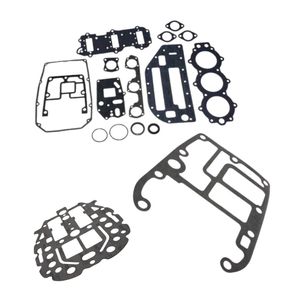
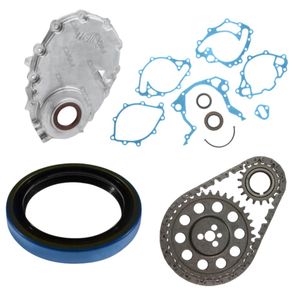
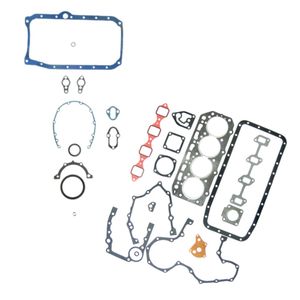
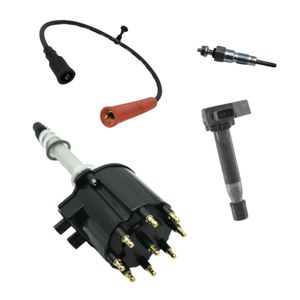
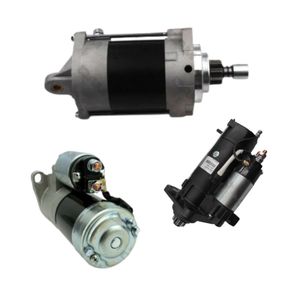
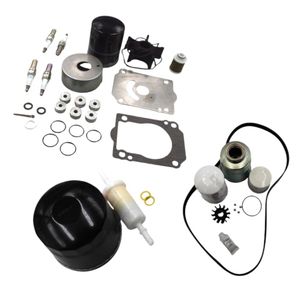
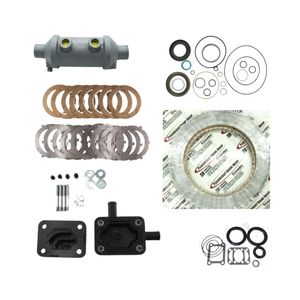
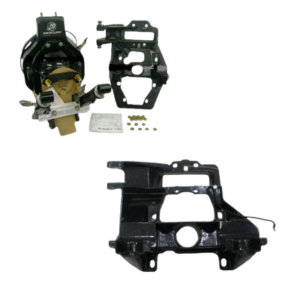
How do you winterise a boat engine?
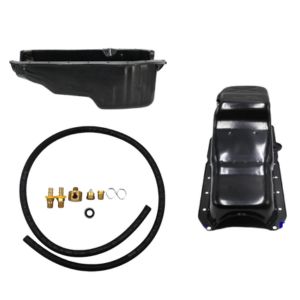
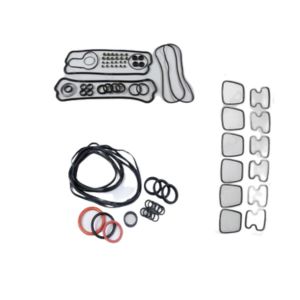
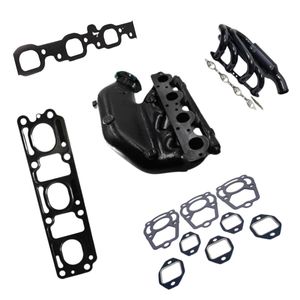
Boat engine winterisation involves flushing, draining, lubricating, filtering and protecting sensitive components before a long shutdown. Operations vary depending on whether the engine is outboard, inboard, petrol or diesel, but the principle is the same: limit internal corrosion, prevent standing water and restart with clean fluids.
Always follow the manufacturer’s procedure before carrying out any operation. Petrol, diesel, outboard and inboard engines do not have exactly the same requirements. To better understand how they differ, you can also read the guides on the petrol boat engine and the marine diesel engine.
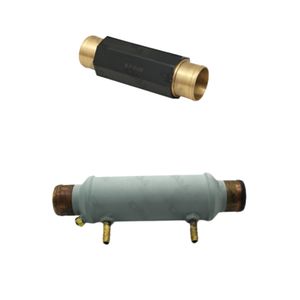
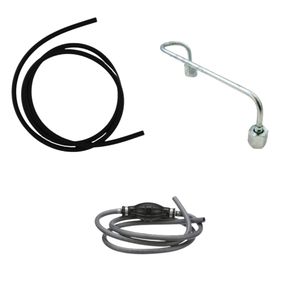
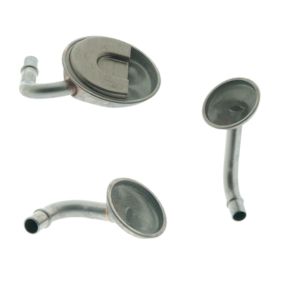
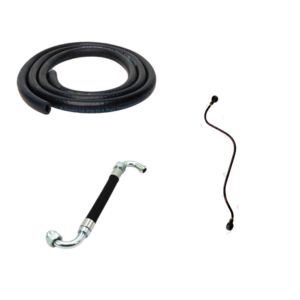
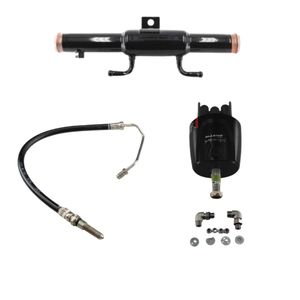
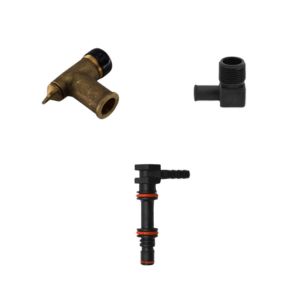
Why flush the engine?
Flushing removes salt from the cooling system and limits internal deposits. It is a basic step for preserving the engine during winter.
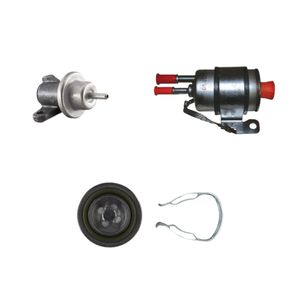
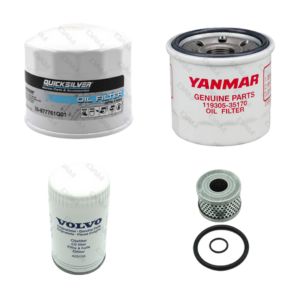
Why change the oils?
Used oil may contain moisture, residue and impurities. Changing it before storage leaves the engine with clean lubricant.
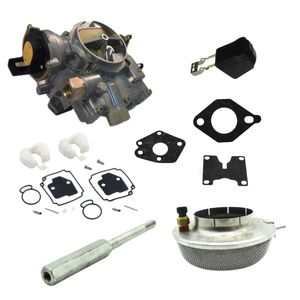
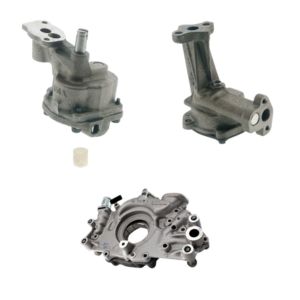
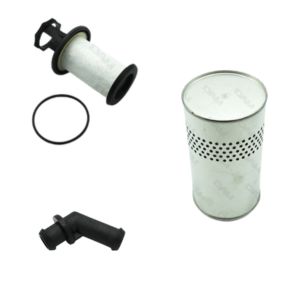
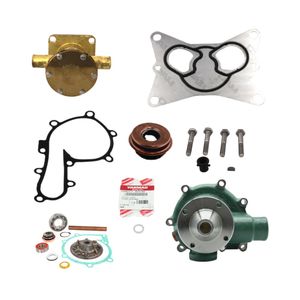
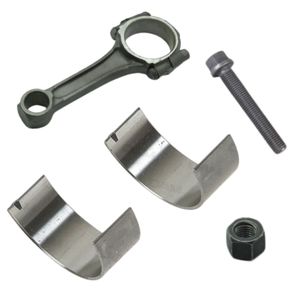
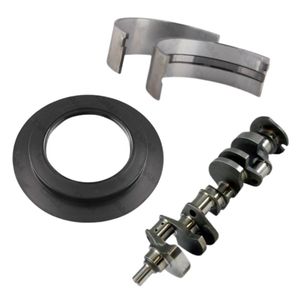
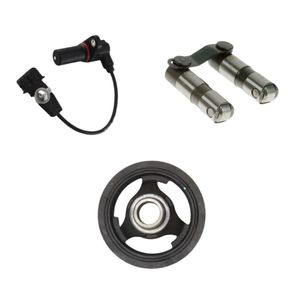
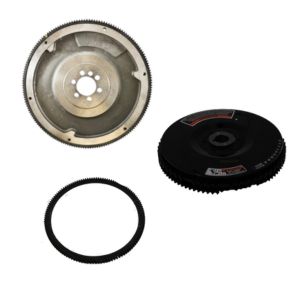
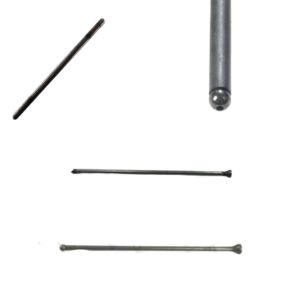
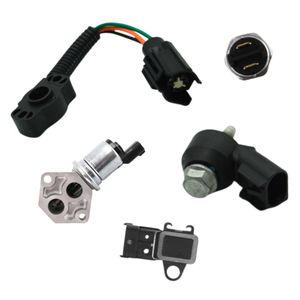
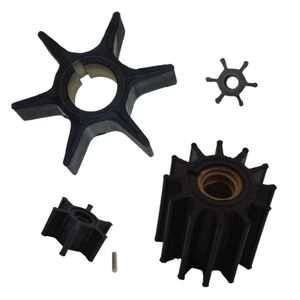
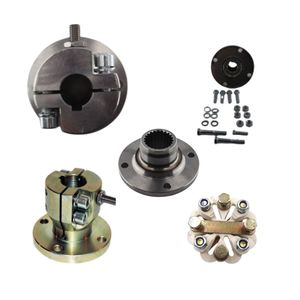
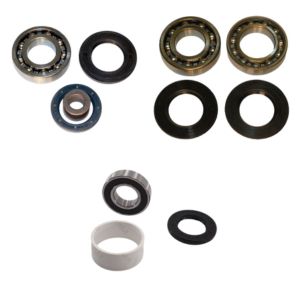
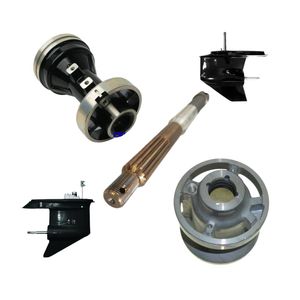
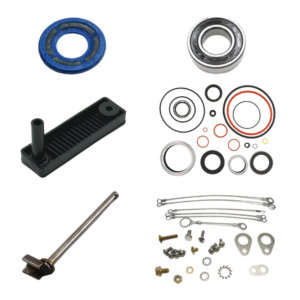
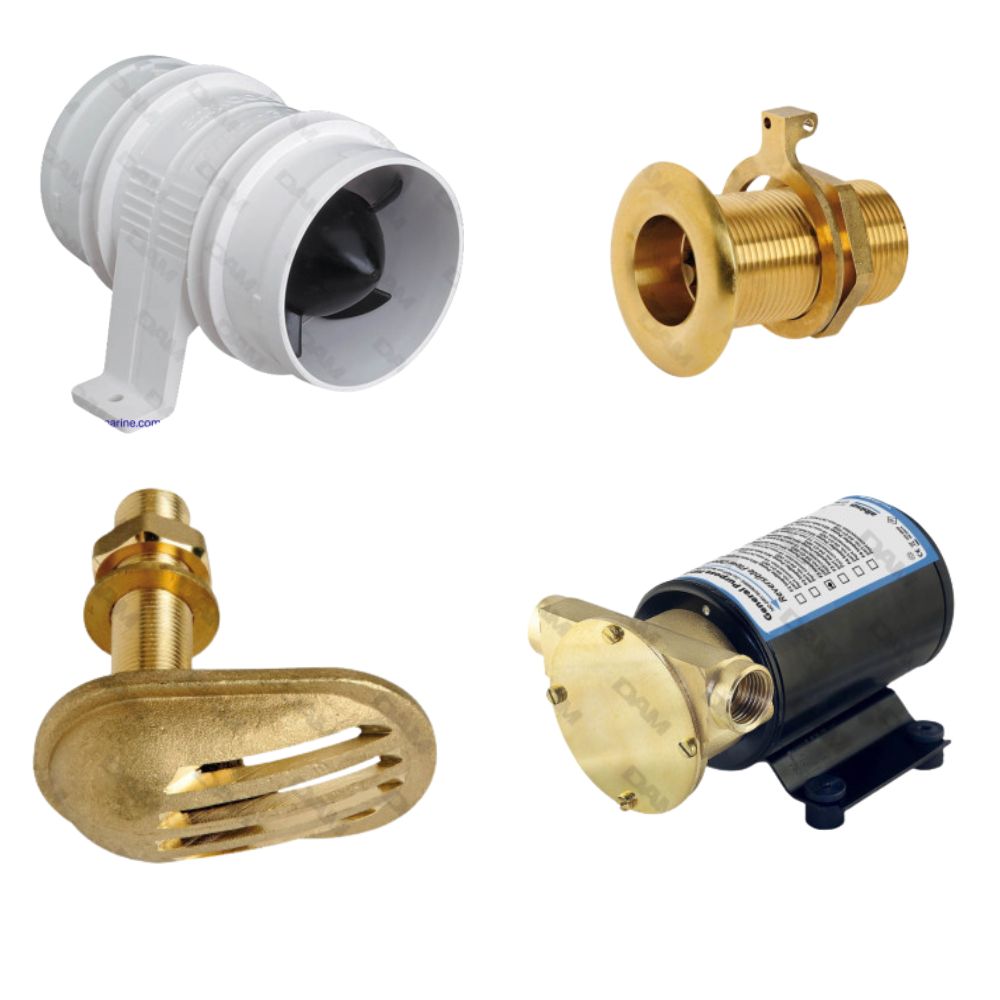
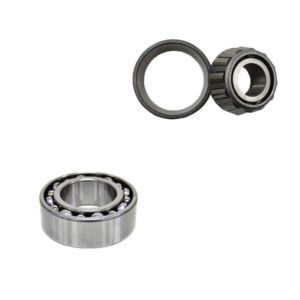
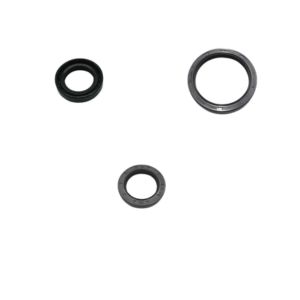
Why check the impeller?
The water pump impeller is a wear part. If it is cracked, hardened or deformed, it may cause poor water circulation and overheating.
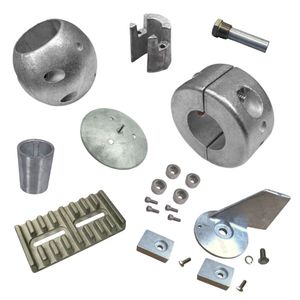
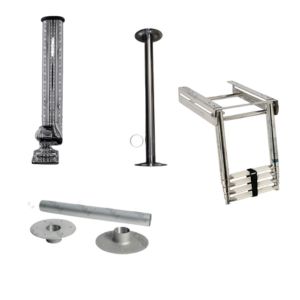
Checking the impeller, anodes, propeller and drive leg is especially important before winter. A heavily worn anode protects metal parts less effectively, while a damaged propeller can cause vibrations when the boat is used again. To go further, read the guide on the different types of boat anodes and the one on boat propeller maintenance.
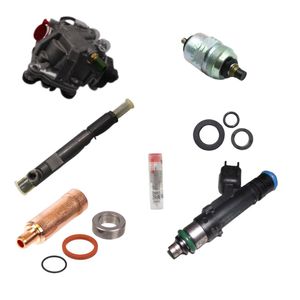
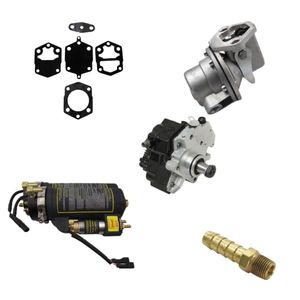
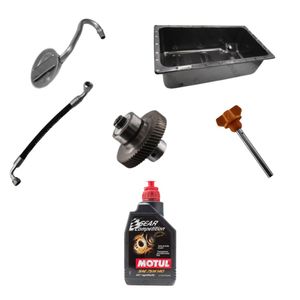
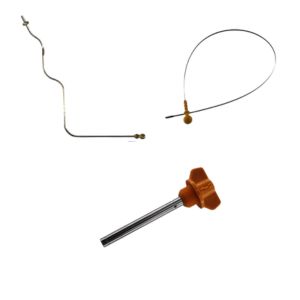
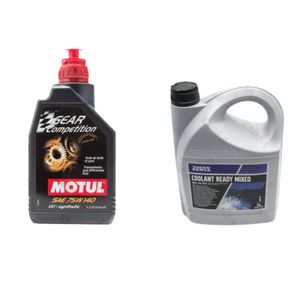
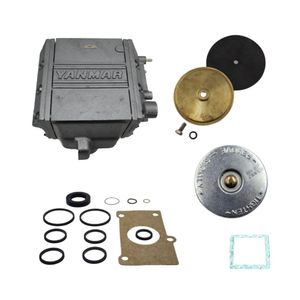
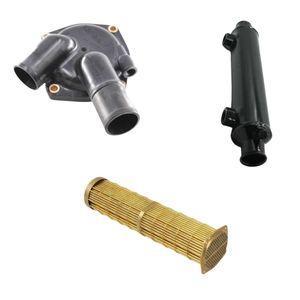
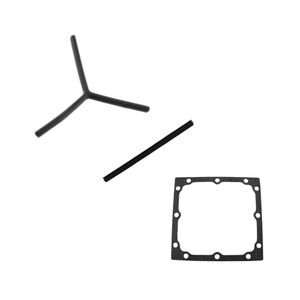
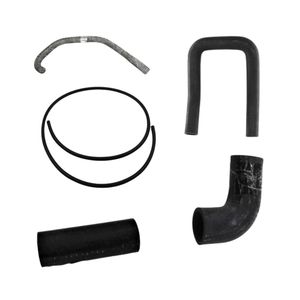
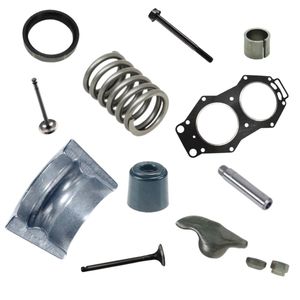
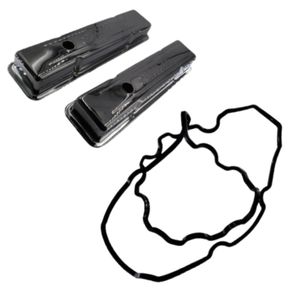
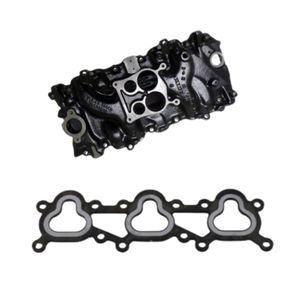
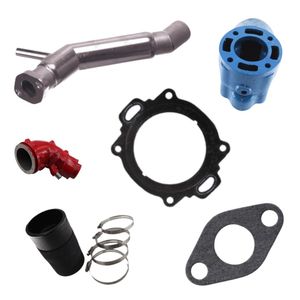
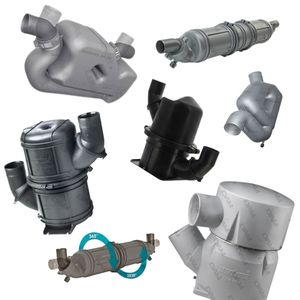
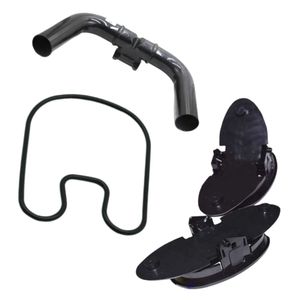
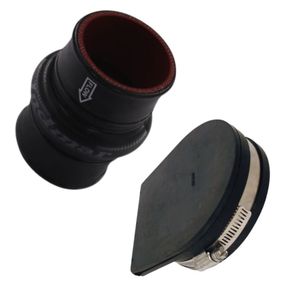
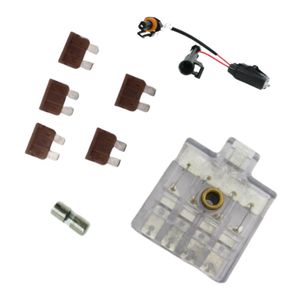
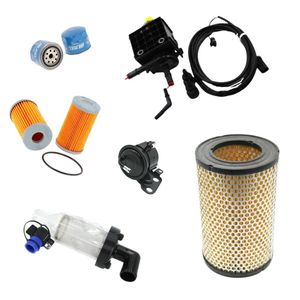
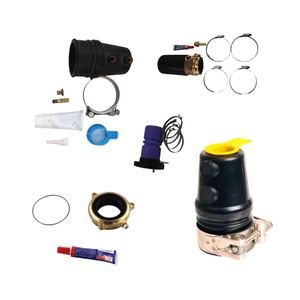
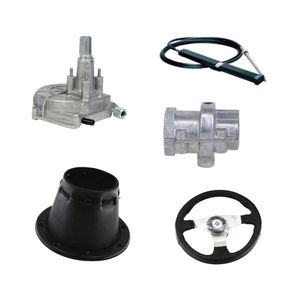
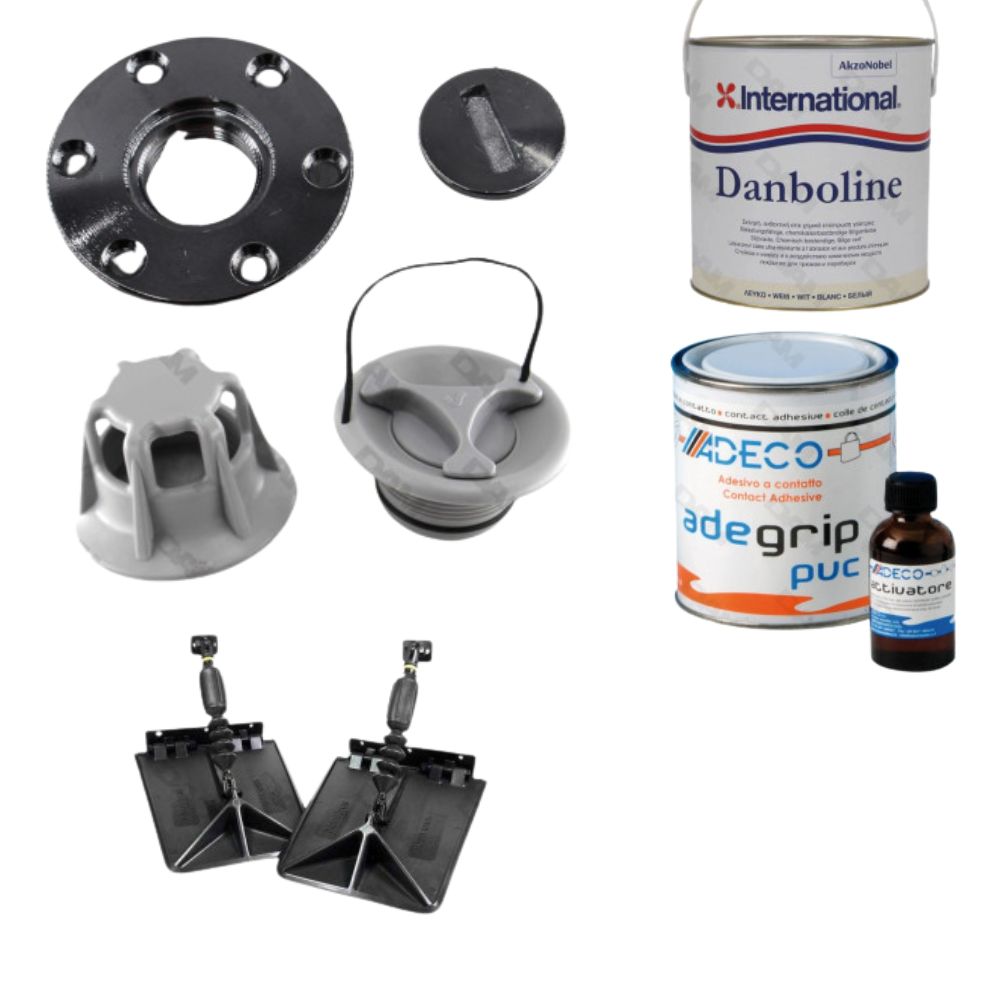
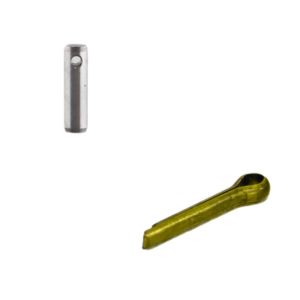
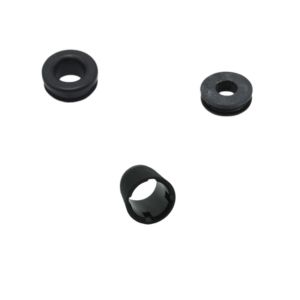
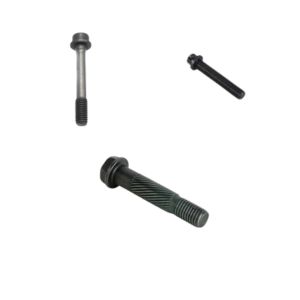
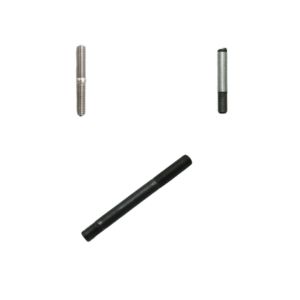
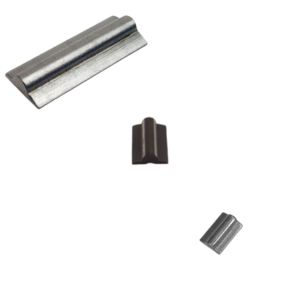
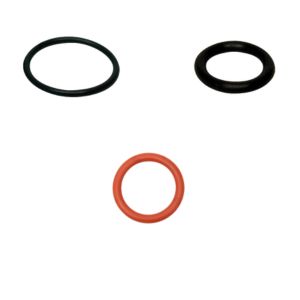
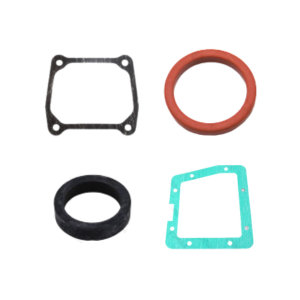
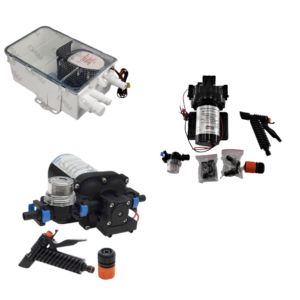
Filters, oils, impellers, anodes, engine flushing and maintenance products: find the useful consumables for winterisation.
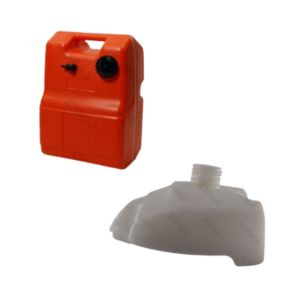
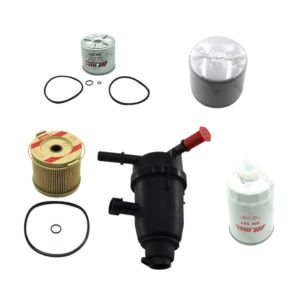
How should fuel be managed during boat winterisation?
Fuel must be managed carefully before winter, because inactivity encourages condensation, deposits and fuel degradation. A dirty or damp fuel system can cause hard starting, misfiring, power loss or an engine that stalls in spring.
The key point is to limit water and impurities in the system. Replacing or checking the fuel filter, monitoring the separator and avoiding an almost empty tank for several months are useful steps. To understand the role of each component, the guide on how a boat fuel system works is a useful complement.
Why avoid water in the fuel?
Water disrupts combustion, encourages deposits and can cause misfiring, unstable engine running or stalling.
Why check the filters?
Filters retain impurities and protect the engine’s fuel supply. Before winter, their condition gives a good indication of system cleanliness.
When should you suspect a fuel system fault?
If the engine starts then stalls, lacks power or does not hold its RPM, the fuel system is one of the first areas to check.
If you are unsure during recommissioning, compare the symptoms with a faulty boat fuel system, boat engine power loss or an engine that will not idle.
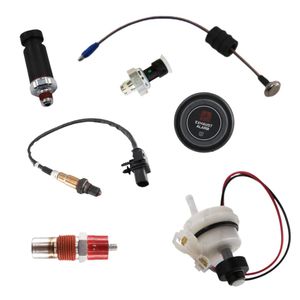
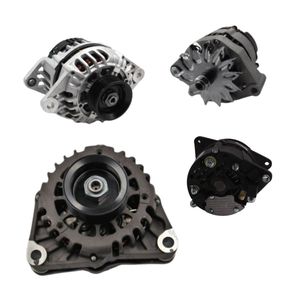
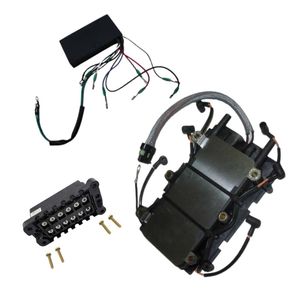
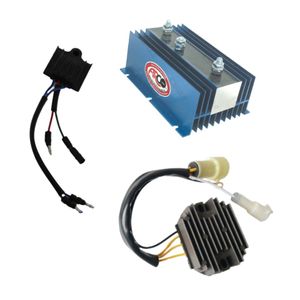
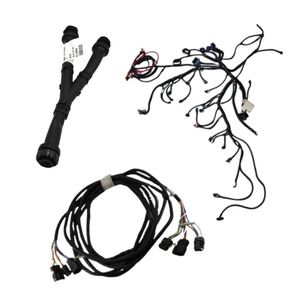
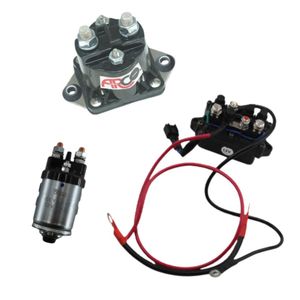
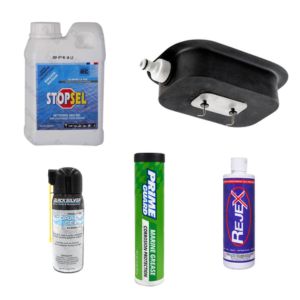
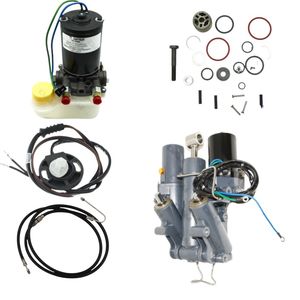
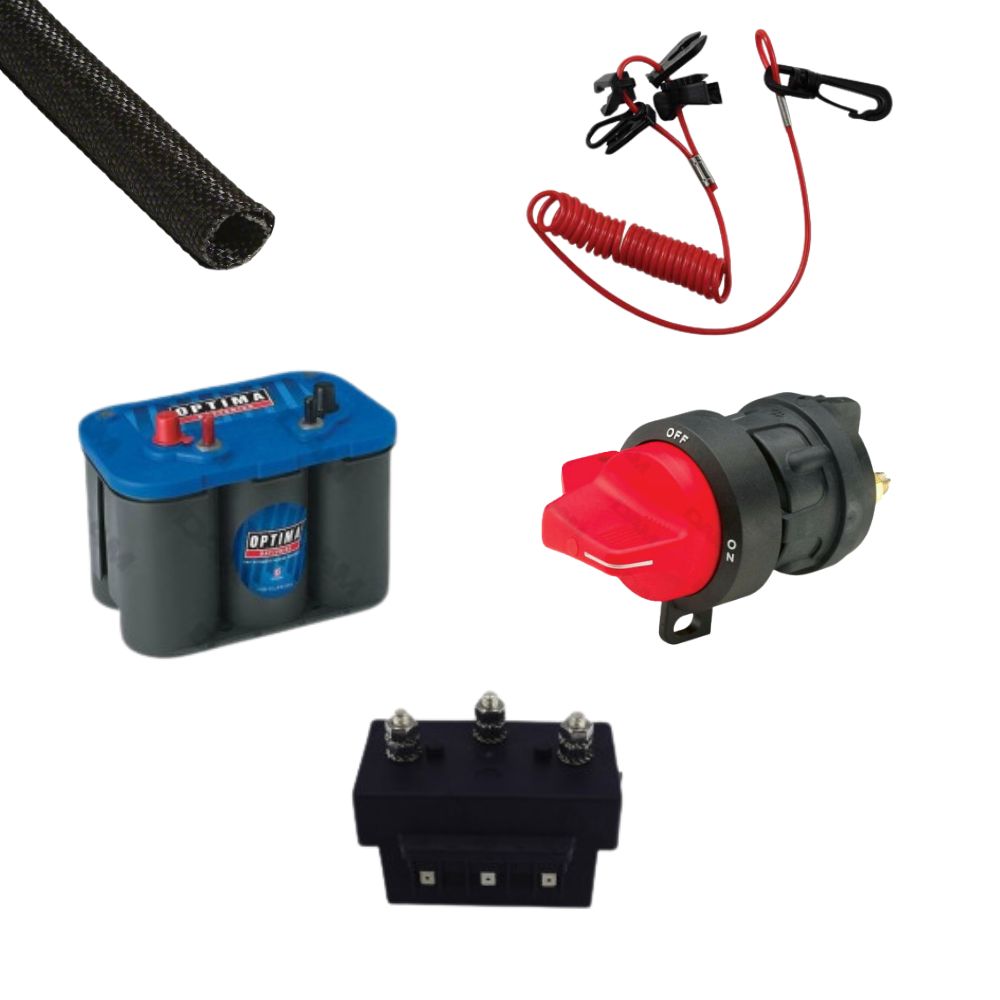
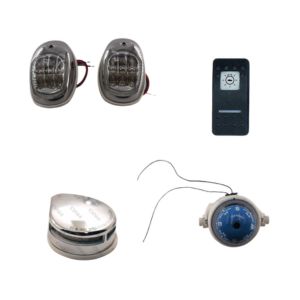
How do you protect batteries and electrical systems during winter?
Batteries must be protected against deep discharge, moisture and parasitic loads. A battery left connected throughout winter can lose significant capacity, especially if a device continues to draw power quietly.
Should the battery be removed?
When possible, removing the battery and storing it in a dry, temperate place is the safest solution.
Should it be charged during winter?
Yes. Periodic boat battery charging or a suitable maintenance charger prevents deep discharge and extends battery life.
What if the bilge pump must remain active?
In that case, keep a dedicated battery, ideally after checking how to choose the right boat battery, and regularly check its charge, the pump, the float switch and the absence of abnormal water in the bilge.
If your boat remains afloat, the bilge pump deserves special attention. Its role is essential in the event of leakage or water accumulation. The guide on choosing a bilge pump can help check whether your installation is suitable. For a broader view, you can also read the resources on electricity on a boat, boat battery maintenance and managing energy onboard.
How can you prevent moisture inside the boat during winterisation?
To prevent moisture, you need to clean, dry, ventilate and reduce confined areas. An interior closed up with damp textiles, full lockers and a shut refrigerator can quickly develop odours, mould, oxidation and weakened woodwork. It is also a good time to review boat wood maintenance.
What should be done with textiles?
Remove cushions, lifejackets, curtains and removable textiles where possible. Store them dry after complete cleaning and drying.
How should the interior be ventilated?
Leave lockers, cupboards and refrigerators slightly open. Air must be able to circulate, even when the boat is closed.
What should be done with water systems?
Drain or sanitise systems that may retain water, including fresh water, toilets, shower heads, water heaters or pumps depending on the boat’s equipment. Where relevant, also remember to empty the boat black water tank.
Onboard water systems are often forgotten during winterisation. Yet standing water can cause odours, deposits or frost damage depending on the region. To better understand which elements to watch, you can refer to the guide on boat plumbing and onboard water systems.
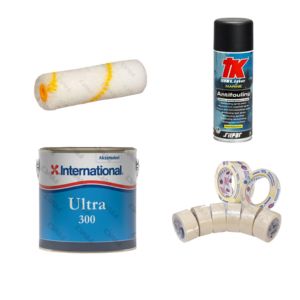
How do you protect the hull, deck and underwater section during winter?
The hull, deck and underwater section should be cleaned to remove salt, algae, deposits, black streaks and dirt accumulated during the season. A clean surface lasts better and makes it easier to spot cracks, impacts, tired seals or fittings that need attention. For polyester surfaces, the guide on boat hull gelcoat in winter usefully completes this step.
Why clean just after haul-out?
Underwater hull fouling is easier to remove while it is still fresh. Waiting several weeks usually makes cleaning more difficult.
Should antifouling be renewed?
Winter storage ashore is a good time to check the condition of the antifouling and prepare a new application if the old protection is worn.
How should a boat winter cover be fitted?
The cover should be taut, firmly secured and sloped to prevent water pockets. It should protect without trapping all the moisture inside.
If you are planning hull cleaning or a new underwater coating, the product choice depends on the surface, navigation area and existing coating. The guide on choosing the right antifouling for your boat covers the essential criteria before application.
Which specific cases should be considered for boat winterisation?
Some boats require additional precautions. A sailboat, an inflatable, a boat on a trailer or a boat occasionally used in winter will not be winterised in exactly the same way.
How do you winterise a sailboat?
Remove or protect sails, check ropes, winches, cleats, accessible rigging, the windlass if fitted and exposed textiles. The guide on how to winterize sailboat sails goes further on this point.
How do you winterise an inflatable boat?
Clean the tubes with suitable products, dry carefully and store under cover if possible, without sharp folds or prolonged rubbing.
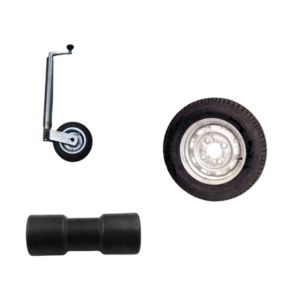
How do you winterise a boat on a trailer?
Check tyres, bearings, straps, support points and overall stability. Poor weight distribution can mark the hull.
If you continue to go out occasionally during the cold season, the approach is different: protection, frequent checks and enhanced safety must be combined. In that case, the guide on winter boating usefully complements winterisation precautions.
How do you recommission a boat in spring?
Recommissioning a boat means gradually putting the engine, electrical system, circuits, safety equipment and onboard gear back into service before the first real outing. This step should be methodical: it is not enough to remove the cover and turn the key.
What should be checked before starting?
Check the battery, connections, fluid levels, visible leaks, fuel, filters, propeller, anodes and any water in the bilge.
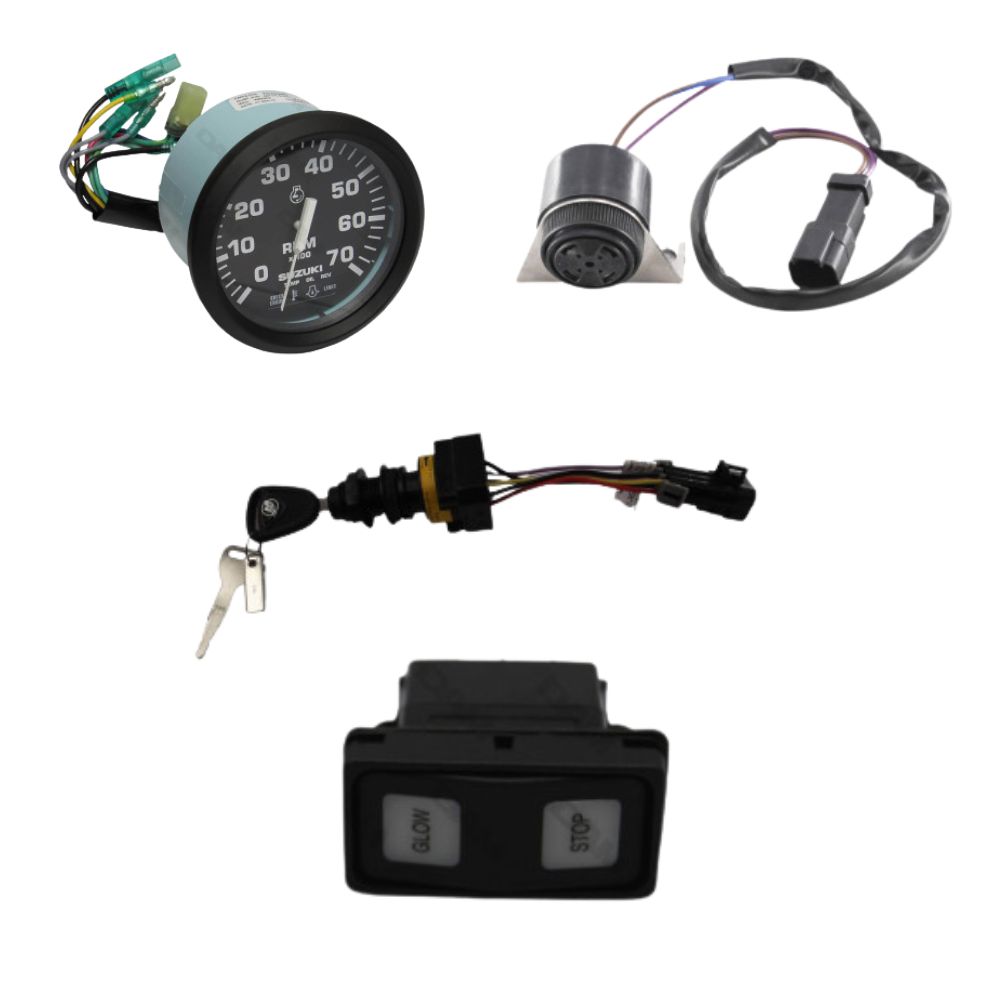
How should the engine be started after winterisation?
Start according to the manufacturer’s procedure, let it warm up at idle, and monitor cooling, exhaust, noises, vibrations and warning lights.
What should be tested before the first trip?
Test the steering, bilge pump, navigation lights, electronics, VHF, instruments, engine controls and safety equipment.
If a problem appears, avoid insisting. Unusual smoke, vibration, abnormal noise or a cooling fault should be identified before going out. Depending on the symptom, the guides on a smoking boat engine, boat engine vibration or boat engine repair can help guide the diagnosis. For the complete restart procedure, also read the guide on recommissioning a boat.
Which checklist should you follow for boat winterisation?
The right boat winterisation checklist follows a simple order: empty, clean, dry, protect the engine, secure the fuel, manage the batteries, ventilate the interior, protect the exterior and plan spring checks.
| Step | Goal | Main actions | Key point |
|---|---|---|---|
| Empty the boat | Limit moisture and equipment loss | Remove textiles, portable electronics, lifejackets and sensitive items | Store only clean and dry equipment |
| Clean | Remove salt, dirt and deposits | Wash deck, cockpit, lockers, hull and interior | Do not close the boat while damp |
| Protect the engine | Limit corrosion and restart problems | Flush, change oils, filters, grease and check impeller | Follow the manufacturer’s procedure |
| Manage fuel | Avoid water, deposits and degraded fuel | Check filter, separator, tank and system | Watch for signs of condensation |
| Check batteries | Avoid deep discharge | Remove, store dry and maintain charge | Plan for the bilge pump if the boat remains afloat |
| Ventilate the interior | Avoid odours and mould | Open lockers, cupboards, refrigerator and enclosed areas | Dry before long-term closure |
| Protect the hull | Preserve gelcoat, underwater hull and fittings | Clean, inspect and apply antifouling if needed | Use haul-out to inspect thoroughly |
| Fit the cover | Limit rain, UV and dirt | Taut cover, secure fastening, water run-off | Avoid water pockets and excessive condensation |
Frequently asked questions about boat winterisation
How long does it take to winterise a boat?
Simple winterisation can take half a day to a day. A complete winterisation including cleaning, drying, engine maintenance, hull work, batteries and exterior protection may take longer, especially if the boat needs to dry properly.
Can you winterise a boat yourself?
Yes, many operations can be done yourself: cleaning, inventory, ventilation, battery care, cover fitting and visual checks. For oil changes, drive legs, cooling systems or inboard engines, it is better to use a professional if you are not confident.
Should a boat left afloat be winterised?
Yes. A boat afloat remains exposed to moisture, strong winds, salt, loaded mooring lines and the risk of water in the bilge. Winterisation afloat even requires regular checks throughout winter.
Should the battery be removed during winter?
This is recommended when the installation allows it. A battery stored dry, maintained on charge and protected from cold will age better than a battery left connected for several months with parasitic loads.
Should antifouling be renewed before or after winter?
It depends on the boatyard schedule and the product used. Winter storage ashore mainly allows the underwater hull to be inspected, cleaned and prepared. Application must follow the manufacturer’s conditions and timing.
How can you avoid bad smells inside the boat?
You need to clean, dry, remove damp textiles, open lockers and allow air to circulate. Odours often come from a boat closed too early with moisture trapped in fabrics, lockers or systems.
What should you do if the engine will not restart after winter?
Start by checking the battery, kill switch, fuel, petrol or diesel supply, filters, connections and engine safety systems. If the problem continues, avoid cranking for too long and carry out a methodical diagnosis.
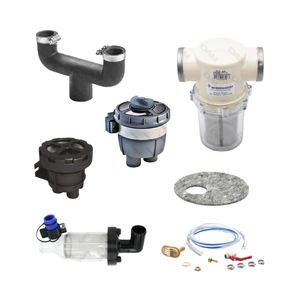
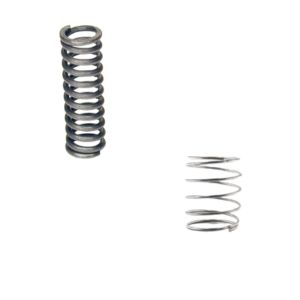
Find the useful products and consumables to protect your engine, hull, batteries and equipment before winter.