


 Catalog
 Exploded views

















 Honda Marine







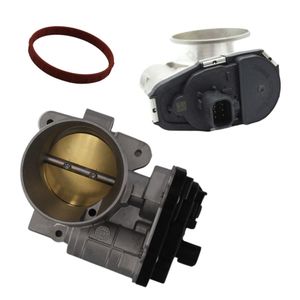
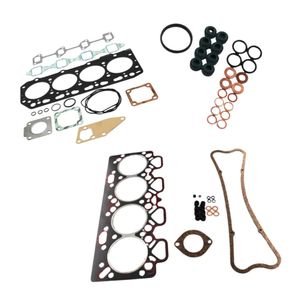
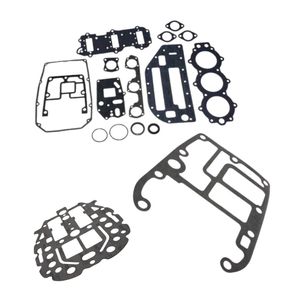
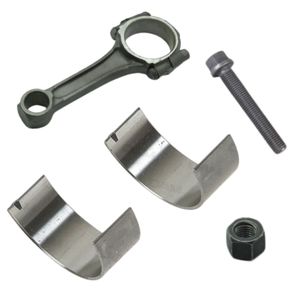
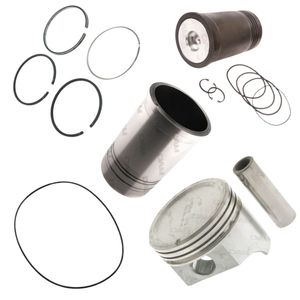
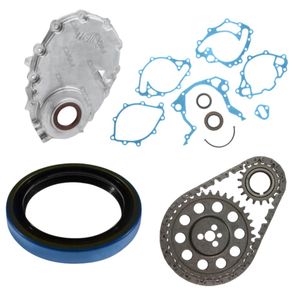
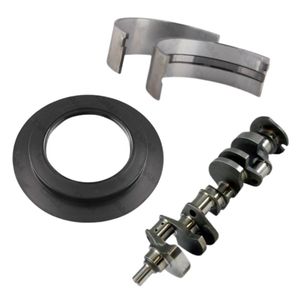
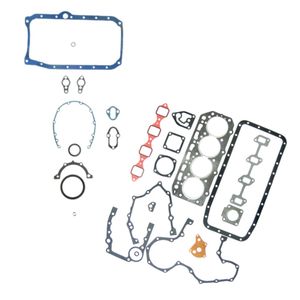

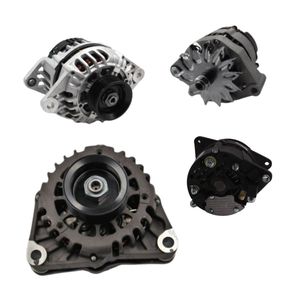
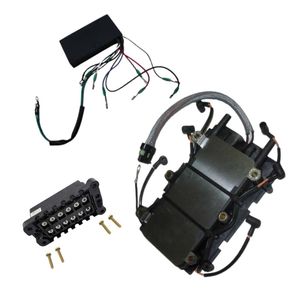
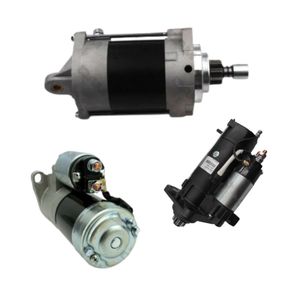
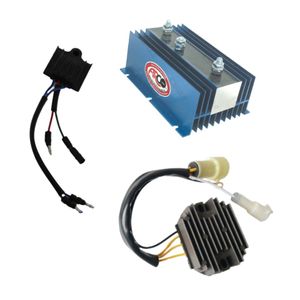
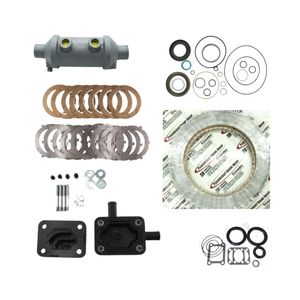
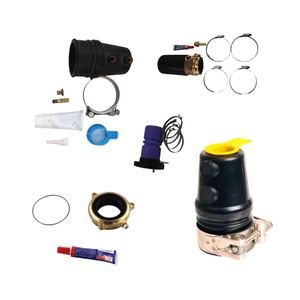
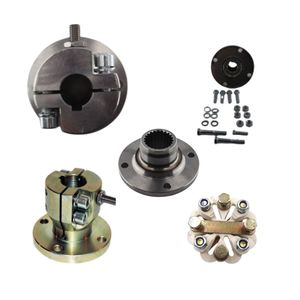
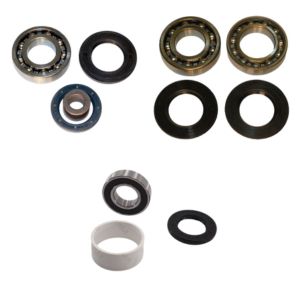
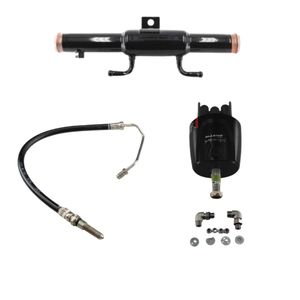
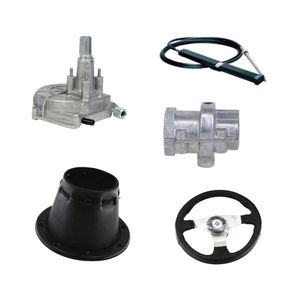
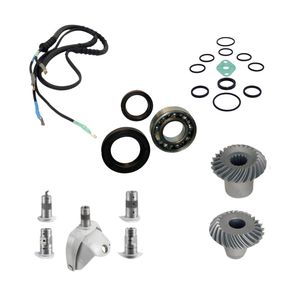
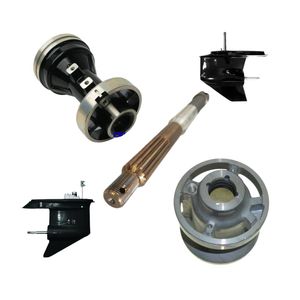

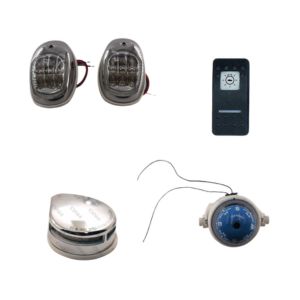
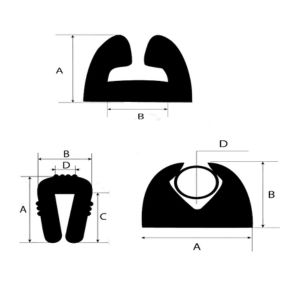
 Parts views
 Technical documents
 Ask for a quote
 Return request
Prepare your haul-out with the right products. DAM Marine helps you protect the underwater sections of your boat effectively.
View antifouling paintsApplying antifouling paint to a boat hull means preparing the surface carefully, masking the waterline, mixing the product and applying one or two even coats according to the technical data sheet. Success depends mainly on hull cleanliness, compatibility with the previous coating and respecting drying times. Before launching, always check the manufacturer's timings and avoid rain, excessive humidity or a cold surface.
How do you apply antifouling paint to a boat hull?
To apply antifouling paint to a boat hull, start by cleaning and drying the underwater areas, check the condition of the previous coating, sand if necessary, then protect the waterline with masking tape. Mix the antifouling thoroughly, apply it with a roller in even coats and use a brush for difficult areas such as the keel, rudder, through-hulls, drive leg or edges.
In most cases, two coats are recommended, with extra protection on highly exposed areas. Quantity, thickness, time between coats and launch delay must always follow the technical data sheet of the selected product.
If you are still unsure which product to use, read the DAM Marine guide to choosing the right antifouling for your boat before you begin.
Antifouling application is usually part of a broader job to careen a boat. A clean, well-prepared hull also reduces drag and can help you use less fuel during the season.
What equipment should you prepare before applying antifouling?
The equipment must help you work cleanly, protect the operator and obtain an even coat. Prepare everything before opening the tin: application is more consistent when tools, protection and consumables are already within reach.
Which application tools are needed?
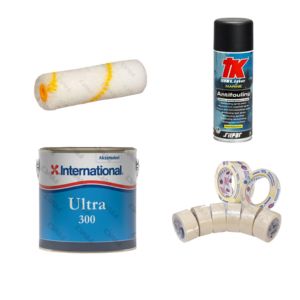
Use a roller suited to marine paints, a brush for detail work, a paint tray, a mixer, masking tape and lint-free cloths.
What protection should you wear?
Wear gloves, goggles, coveralls and a suitable mask, especially when sanding or working in a poorly ventilated area.
Which products should be kept ready?
Prepare the antifouling, a compatible primer if needed, the manufacturer's recommended thinner and suitable hull cleaning products.
DAM Marine brings together useful products for boat hull maintenance, marine paints, marine paint brushes and marine technical products for preparation.
How should you prepare the hull before application?
Hull preparation determines antifouling adhesion. A hull that is greasy, damp, powdery or covered in old residue can cause poor bonding, blistering or uneven wear after only a few outings.
Start with a full clean, ideally just after haul-out when fouling is easier to remove. Let the hull dry, inspect the surface, remove non-adherent areas and lightly sand if the old antifouling is sound but too smooth. Remove dust carefully before application.
If the old coating is flaking, if compatibility is unknown or if several old layers overlap, deal with the issue before adding a new coat. The DAM Marine guide on how to remove antifouling from a boat hull explains when stripping becomes preferable.
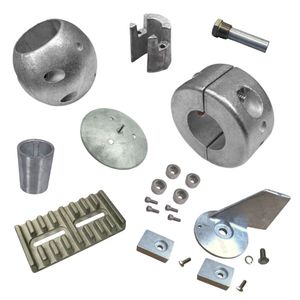
Also use this stage to check appendages, through-hulls and corrosion protection. Boat hull accessories and marine anodes are best checked while the boat is ashore.
If the aim is mainly to restore shine to non-immersed areas, learning how to polish the boat hull is a different finishing step from antifouling application.
To go further when checking corrosion protection, also read our guide to the different types of boat anodes.
Should you apply a primer before antifouling?
A primer is not always required, but it becomes essential when the substrate demands it. It helps adhesion, isolates two incompatible products or protects an area taken back to bare material.
When the substrate is taken back to bare material, primer also helps protect the hull gelcoat, especially before a period of storage or winter lay-up.
When is primer recommended?
It is advised on bare gelcoat, repairs, areas sanded back to the substrate, epoxy hulls, unknown old antifouling or a change of technology.
When can you skip it?
If the old antifouling is sound, compatible, clean, keyed and still well bonded, a new application can often be made without primer.
What rule should you follow if unsure?
If in doubt, use a compatible barrier primer rather than layering two systems that may react badly.
How do you apply antifouling step by step?
Application should remain methodical: avoid missed areas, local overthickness and visible overlaps. Work in manageable zones while keeping an even film over the entire underwater surface.
- Mask the waterline carefully with clean, well-tensioned tape.
- Mix the antifouling thoroughly, as active ingredients may settle at the bottom of the tin.
- Apply with a roller on large areas, using even crossed passes.
- Use a brush for corners, appendages, keel edges, rudder and areas close to supports.
- Respect the stated coverage: a coat stretched too far will protect for less time.
- Remove masking tape at the right moment, before the film fully hardens.
Areas exposed to friction or turbulence, such as the bow, waterline, rudder and leading edges, can receive an extra coat if the technical data sheet allows it.
Should antifouling be applied in a thin or thick coat?
Antifouling should be neither over-stretched nor applied in messy overloads. The correct thickness is the one that matches the manufacturer's stated coverage: it ensures enough active material is deposited on the hull for the expected period of use.
A coat that is too thin may wear quickly or leave less protected zones. A coat that is too thick may dry poorly, show roller marks or create unnecessary build-up. The safest approach is to think in quantity per surface area: if the tin intended for a given surface is barely used, the application is probably too light.
How long should you wait between two coats of antifouling?
The time between coats depends on the product, temperature, humidity, ventilation and applied thickness. There is no single rule for all antifoulings: the technical data sheet remains the reference.
In practice, the second coat should be applied when the first is dry enough to receive a new layer without being contaminated by dust, dew or humidity. In cool or damp conditions, allow more margin.
How long should you wait before launching after antifouling?
The launch delay after antifouling also depends on the product's technical data sheet. Some antifoulings specify a minimum drying window and sometimes a maximum immersion window to preserve performance.
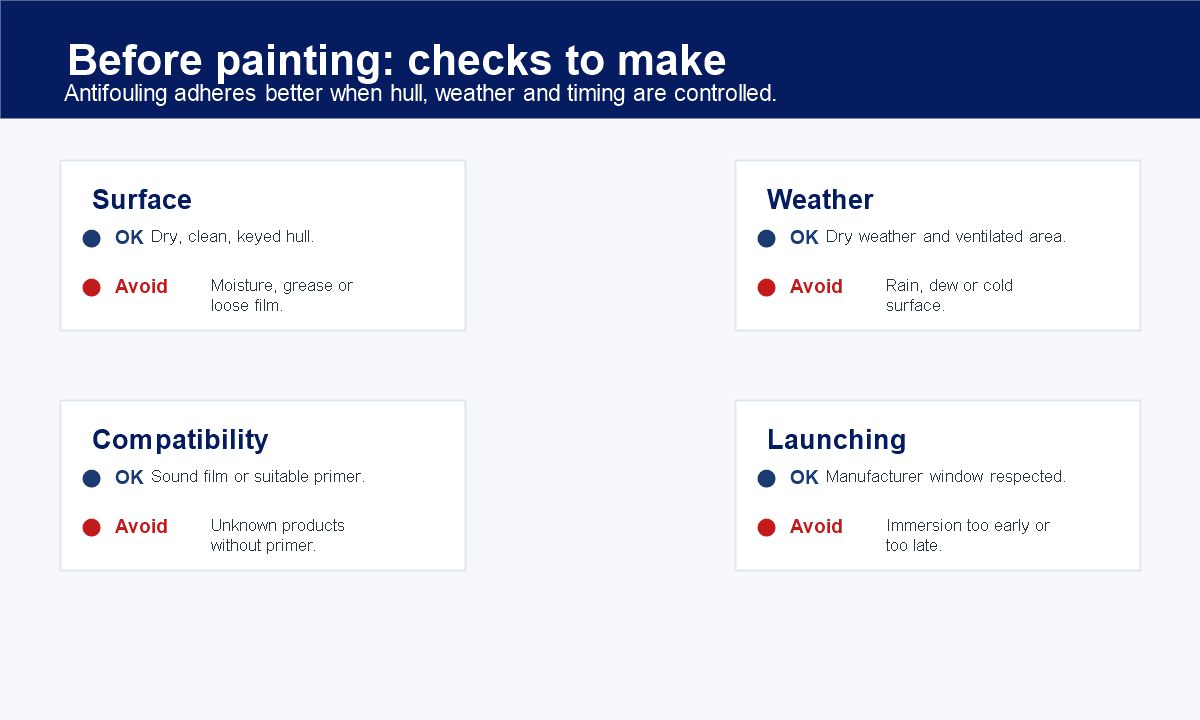
Before launching, check that the film is dry, that the weather has not disrupted drying and that areas under stands or slings have been touched up. If rain is forecast shortly after application, it is better to postpone than risk a marked or washed film.
If the application is carried out during a longer haul-out, the guide to boat winterization can help organize the other checks. Before returning to use, also take time to dewinterize a boat methodically before the new season.
What mistakes should you avoid during antifouling application?
The most common mistakes come from rushed preparation or ignoring application conditions. Antifouling is a technical coating: it must be applied to a suitable surface within a coherent weather window.
- Applying to a damp, greasy or insufficiently rinsed hull.
- Covering incompatible old antifouling without an isolating primer.
- Sanding without respiratory protection or dust management.
- Forgetting to mix the tin right down to the bottom before and during application.
- Stretching the product excessively to save material.
- Applying in rain, strong sun or on a surface that is too cold.
- Forgetting touch-ups where stands were positioned before launching.
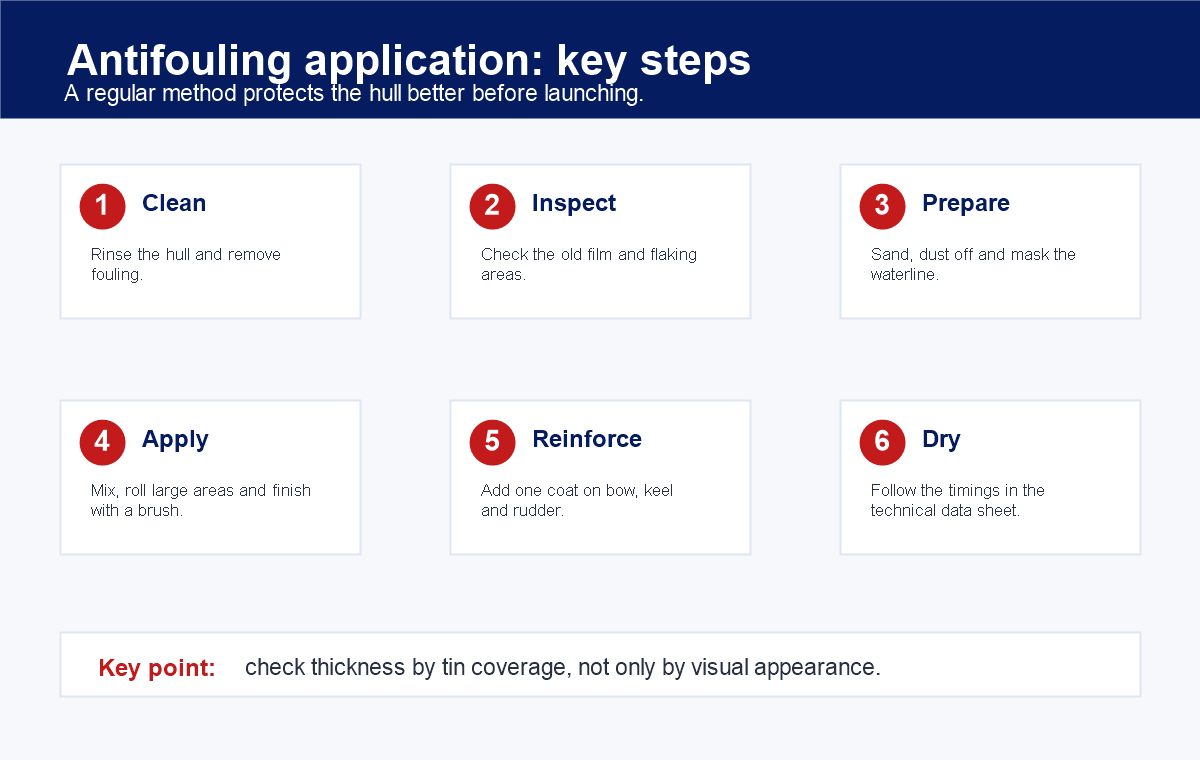
What are the key steps for applying antifouling?
The method can be summarised in a few steps, adapted to the real condition of the hull and the manufacturer's recommendations.
| Step | Objective | Watch point |
|---|---|---|
| Clean | Remove salt, dirt, algae and deposits | Work on a dry hull before sanding or application |
| Inspect | Identify blisters, flaking, incompatibilities and old build-up | Strip or isolate if the old antifouling is not reliable |
| Prepare | Key, dust off and mask the waterline | Do not leave dust or grease on underwater areas |
| Apply | Lay down an even coat with roller and brush | Respect coverage and reinforced zones |
| Dry | Let the film reach the required stage before the next coat or immersion | Follow the data sheet according to temperature and humidity |
FAQ on applying antifouling
Can antifouling be applied in the rain?
No. It is better to avoid rain, dew and excessive humidity. Water can affect adhesion, mark the film or alter drying.
Can eroding antifouling be applied over old antifouling?
Yes, if the old antifouling is compatible, sound, clean and well bonded. If you do not know the old product, an isolating primer or stripping back may be necessary.
How many coats of antifouling should be applied?
Two coats are often recommended for even protection, with an additional coat on exposed areas. The product technical data sheet takes priority.
Can antifouling be applied directly over epoxy?
You need to check the system recommended by the manufacturer. A compatible primer is usually required to ensure adhesion between epoxy and antifouling.
When should masking tape be removed?
The tape should be removed before the antifouling fully hardens, to obtain a clean line without tearing the film.
Should antifouling be thinned before application?
Only if the technical data sheet allows it, using the recommended thinner. Excessive thinning can reduce the deposited thickness and therefore hull protection.