


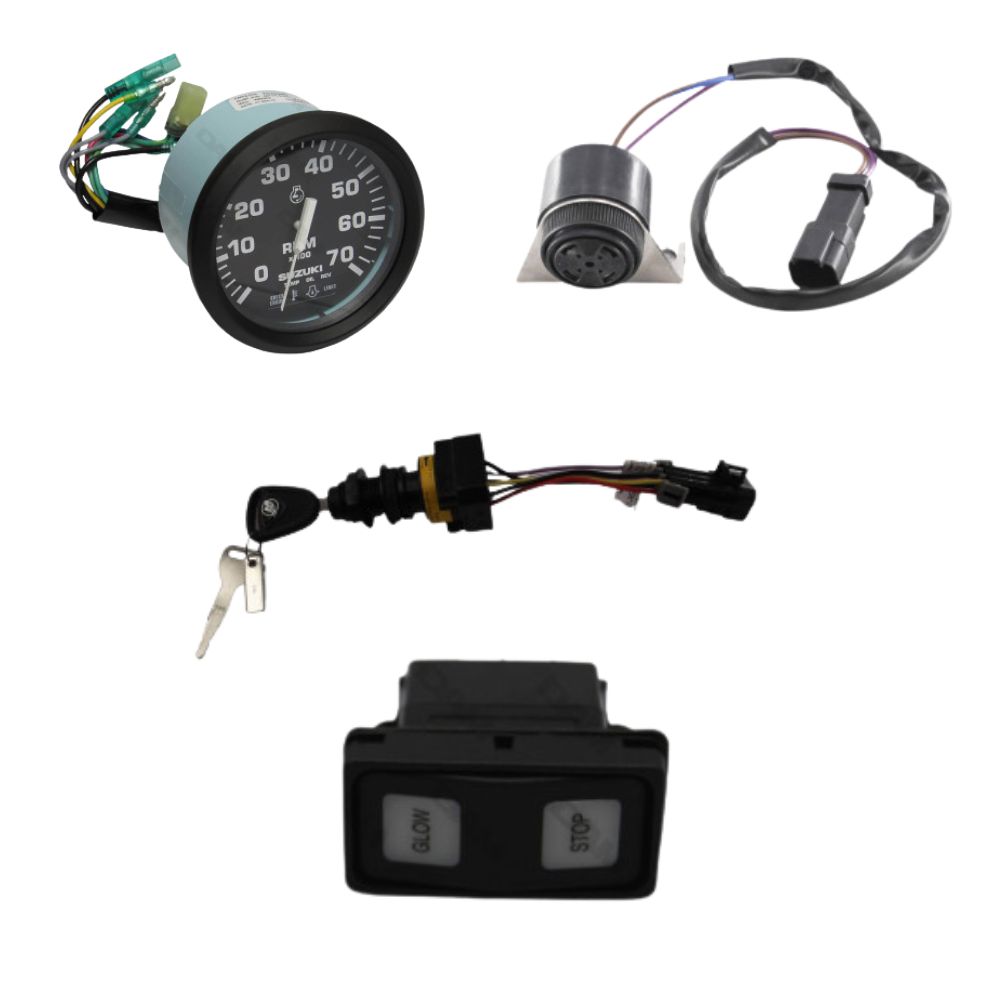


Boat fish finder: how it works, reading the display, and technologies (2D, CHIRP, Down Imaging, Side Imaging)
You see arches, lines, colors… but you don’t always know what your fish finder is telling you. Between “echo” theory, settings, and choosing between 2D sonar, Down Imaging and Side Imaging, it’s easy to feel lost. In this guide, we explain how a boat fish finder works in a simple way, then we get practical: how the image is built, how to read the screen, how to tune the settings, and how to install the transducer to get a clean signal.
- Fish finder, transducer, sonar: a simple definition
- How a boat fish finder works (the echo principle)
- Why the screen “scrolls”: how the image is built
- 2D, Down Imaging, Side Imaging, CHIRP: what’s the difference?
- Frequency, power, beam angle: what really changes the reading
- How to read a fish finder: arches, bait balls, structure, bottom hardness
- Quick settings: 3 scenarios + common mistakes
- Where to place and how to install the transducer (without losing the signal)
- Power supply, wiring, NMEA: avoid outages and interference
- Summary table
- FAQ
Sondeur, sonde, sonar: simple definition
We often mix up the terms, so let’s start with clear basics:
- The fish finder is the device that measures and displays depth and what it “interprets” under (or around) your boat.
- The transducer (also called a transducer) is the part in contact with the water (external, thru-hull, or bonded inside the hull). It transmits and receives the sound pulses.
- Sonar is the generic term for the principle: sending a wave and analyzing its return.
In practice, it’s the screen/unit + transducer pairing that determines the quality of the result. A great display with a poorly placed transducer will produce average images. A good transducer, properly installed and correctly tuned, often turns a “simple” fish finder into a truly effective tool.
How a boat fish finder works (the echo principle)
A fish finder works on a very simple idea: it measures the time it takes for a sound pulse to travel to a target and back between the transducer and an obstacle.
1) Transmit
The transducer sends a sound pulse (ultrasound) into the water. This pulse forms a “cone” that can be wider or narrower depending on the transducer.
2) Reflection
The wave hits the bottom, a structure (rock, wreck, seagrass) or something in the water (bait ball, bubbles, thermocline), then part of the energy returns to the transducer as an echo.
3) Receive and calculate
The fish finder measures the time between transmission and the return of the echo, then calculates the distance. On average, sound travels at around 1,500 m/s in seawater (it varies slightly with temperature, salinity, and depth). The unit divides by two because it’s a round trip.
Many units also allow an offset (depth offset): you choose whether the display shows depth under the transducer or under the keel. This is very useful for coastal navigation.
4) Processing and display
The fish finder turns echoes into pixels. Echo intensity matters as much as depth: a strong return often suggests hard bottom or dense structure, while a weaker return can indicate mud, soft sand, or vegetation.
Why the screen “scrolls”: how the image is built
This is essential: the screen is not a fixed photo. In most modes, the image is a history—what’s on the right is what the transducer “sees” now, then everything moves left.
In practice :
- If you speed up, the display can “compress” information if the scroll speed is too slow.
- If you slow down, the image can stretch and make a structure look bigger than it is.
- If you stay still, the unit keeps pinging: you mainly see variations and “noise” in the water (plankton, bubbles, fish passing by).
That’s why we talk about reading a fish finder: you’re interpreting a representation that depends on boat speed, settings, transducer, and the mode you’re using.
2D, down imaging, side imaging, CHIRP: what’s the difference?
2D sonar: the most common display
2D shows a profile under the boat. It’s very effective for tracking depth, reading the bottom, and spotting “classic” echoes. For fishing, it remains an excellent way to understand what’s happening under the hull, especially while moving.
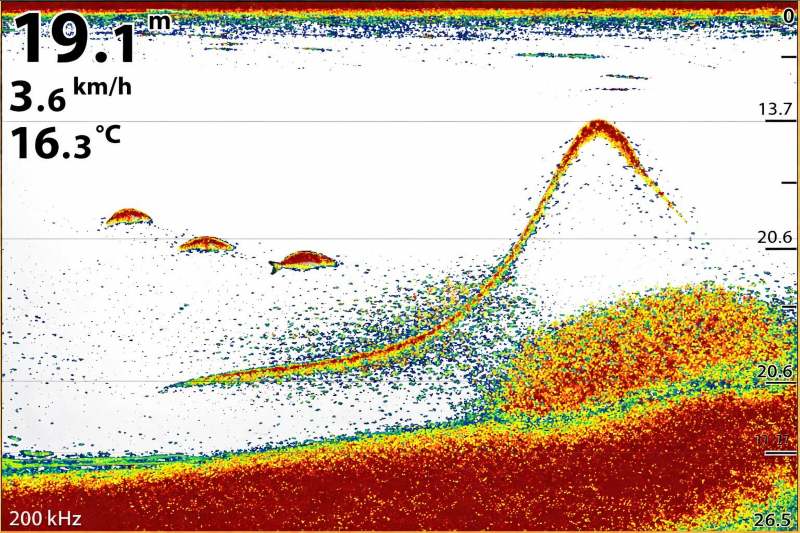
In 2D, the screen scrolls: you’re reading history, not an instant photo.
Down imaging highlights the structure under the boat with finer detail.
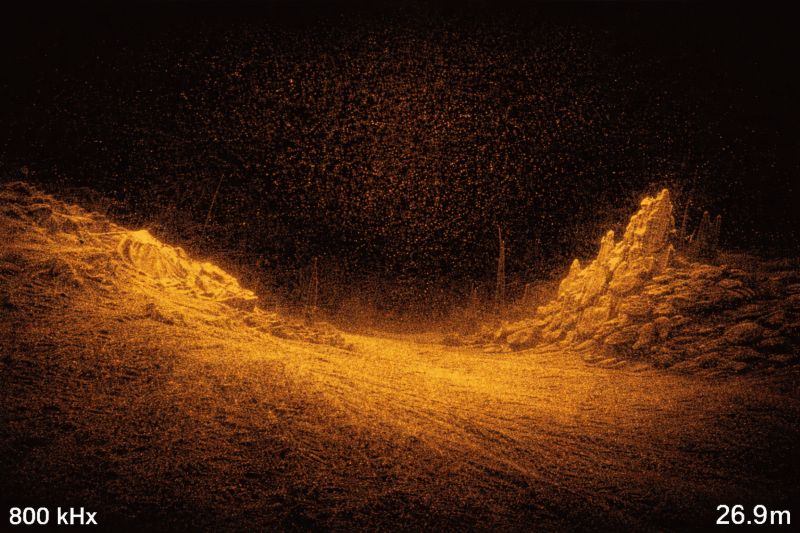
Down imaging
Down imaging (often linked to high-frequency imaging technologies) produces a more “drawn” and more precise view of structure. It’s widely used in shallow to mid-depth water to distinguish rocks, breaks, wrecks, seagrass beds, and hard areas.
Side imaging
Side imaging “scans” the sides of the boat, often with a left/right split display. Its strength: it covers much wider than 2D. It’s very useful to search for a wreck, a drop-off, a rocky area, or to spot fish holding close to structure.
One important detail: shadow is information. A structure that casts a sharp shadow can indicate significant relief. Conversely, an area with no shadow is often flatter.
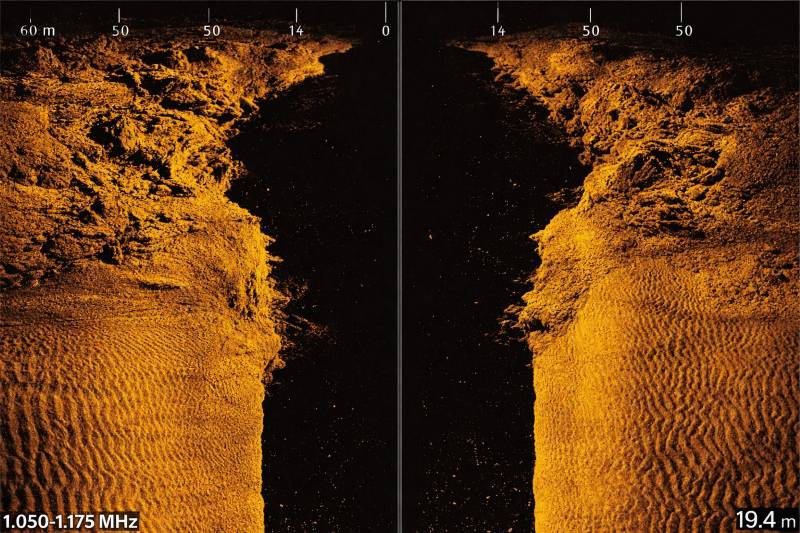
Side imaging is for scouting: you spot structure and its shadow to estimate relief.
CHIRP: why everyone talks about it
CHIRP doesn’t describe a display; it’s a way of transmitting. Instead of a single frequency, the transducer sends a range of frequencies. Result: the unit gathers more information, and the image is often clearer, with better separation of close targets.
In real conditions, CHIRP helps especially when you’re trying to separate a fish stuck to the bottom, a tight school, or fine structure (small rocks, the edge of weeds, branches).
Frequency, power, beam angle: what really changes the reading
Two fish finders can show very different images in the same place because their transducers aren’t set (or designed) the same way. The three key parameters are frequency, power, and beam angle.
Frequency: depth or detail
- Lower frequencies: they “reach” deeper, but the image is less detailed.
- Higher frequencies: more detail, but less range, especially in rough water or very deep water.
Power: hold bottom and filter noise
Power helps keep a good reading when conditions get tougher: greater depth, choppy seas, dirty water, higher boat speed. But “more” isn’t always “better”: too much power can amplify interference and make the screen messy if filters don’t keep up.
Beam angle: cover wide or aim precise
A wider beam covers more area under the boat, which can help spot moving fish. A narrower beam often provides a more precise reading and better separation close to the bottom.
How to read a fish finder: arches, bait balls, structure, bottom hardness
Reading a fish finder means learning to recognize visual signatures.
2D arches: why a fish makes an arch
An arch often appears when a fish passes through the detection cone. It “enters” the beam, moves closer to the center, then exits. The result depends on your speed and settings: the same fish can draw a nice arch or just a short line.
Bait balls: “clouds” and density
A tight school can appear as a dense, sometimes cloud-like area. The return can be stronger if the school is compact. At sea, it’s common to spot bait before predators—learning to recognize these masses saves time.
Bottom: hard or soft?
A hard bottom returns a stronger echo: a thicker bottom line, more intense color, sometimes a second echo depending on settings. A soft bottom (mud, soft sand) produces a weaker return.
Thermocline, plankton, bubbles: false friends
Some elements create returns: a temperature layer, particles, bubbles. If your screen turns “snowy,” it’s not necessarily a school of fish. In that case, the first useful action is often to adjust sensitivity (gain) and filtering.
Quick settings: 3 scenarios + common mistakes
The goal is simple: a clean bottom line, readable echoes, and as little noise as possible.
Scenario 1: marina / shallow water
- Depth range: auto or slightly above the real depth.
- Sensitivity: moderate.
- Scroll speed: medium.
- Tip: offset if you want depth under the keel.
Scenario 2: coastal fishing 10–60 m
- Mode: 2D + down imaging (or split).
- Sensitivity: increase until you see a “live” signal, then back off a bit.
- CHIRP: very useful.
- Scroll speed: matched to boat speed.
Scenario 3: deeper water / rough seas
- Frequency: depth-oriented mode.
- Power: useful, but with appropriate filtering.
- Installation: if the transducer is disturbed, settings won’t compensate.
Common mistakes:
- Sensitivity too high,
- Range too large,
- Inconsistent scroll speed,
- Poorly placed transducer.
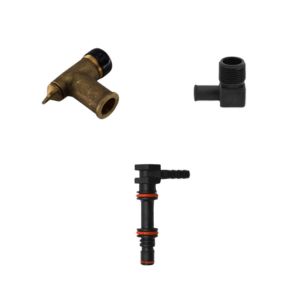
Where to place and how to install the transducer (without losing the signal)
Installation is often the number-one reason fish finders feel “disappointing.” The transducer needs “clean” water in front of it. Turbulence, cavitation, bubbles generated by the hull, a strake, or the propeller can break the signal. If your image is perfect at idle but degrades while underway, transducer placement is the first suspect.
To know where to install your transducer, it helps to understand the different parts of your boat. Read our guide on boat anatomy.
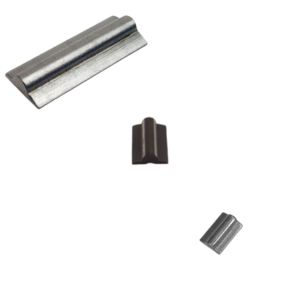
The 3 main mounting types
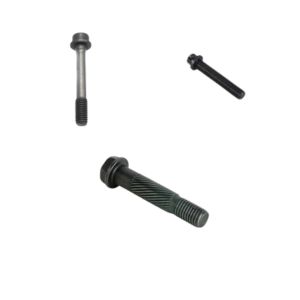
1) Transom-mount transducer
Very common on powerboats and RIBs. Simple, accessible, easy to adjust, but sensitive to turbulence at speed.
2) Thru-hull transducer
Recommended when you want very reliable readings, especially on certain setups. More technical installation (drilling), but often very stable.
3) In-hull (inside-the-hull) transducer
Possible on some fiberglass hulls (no core where it’s bonded). No drilling, protected transducer, but performance varies.
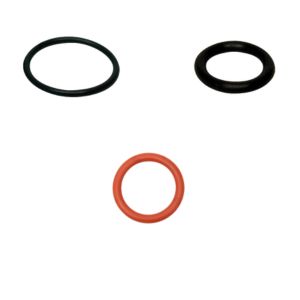
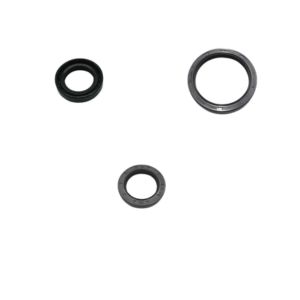
Checklist :
- Choose a zone where the water stays “solid” while underway,
- Avoid outlets, aggressive strakes, areas close to the prop,
- Route the cable carefully,
- Test before final mounting.
Power, wiring, NMEA: avoid outages and interference
A fish finder is sensitive equipment. Rough wiring can cause dropouts, reboots, or an unstable image.
Key points:
- clean power supply with an appropriate fuse,
- healthy connections (no corrosion),
- watch for voltage drops if the screen reboots when the engine starts,
- protect cables from chafing and pinching.
If you build a complete setup (GPS, fish finder, AIS, VHF, instruments), the NMEA network lets you share data. It simply requires a consistent approach: suitable cables, reliable connectors, dockside testing before closing everything up.
Read our article about the role of AIS technology.
If you don’t use your boat in winter, there are a few steps to take for your marine electronics, including the transducer. See our article on winterizing your boat.
Summary table
| Mode | What you see | Strengths | Limitations | When to use it |
|---|---|---|---|---|
| 2D | Profile under the boat (scrolling history) | Depth tracking, bottom reading, detecting echoes | Less “visual” for fine structure | Navigation, general fishing, zone tracking |
| 2D + CHIRP | Clearer 2D, better separation | Better separation of close targets, cleaner reading | Depends on transducer/unit compatibility | Structure fishing, tight schools, precise reading |
| Down Imaging | More detailed structure under the boat | Relief, rocks, wrecks, weeds are very readable | Often less relevant in very deep water | Shallow/medium-depth scouting, structure fishing |
| Side Imaging | Scan left and right + shadows | Wide-area scouting, spotting off-track structure | Reading depends on speed/settings; interpretation takes practice | Searching wrecks, breaks, rocks, prospecting areas |
| NMEA network | Shared data between instruments | Coherent installation, centralized information | Requires clean wiring and suitable accessories | If you combine GPS, fish finder, AIS, instruments |
Q&A
To make navigation safer, monitor depth, spot a break, choose a cleaner anchoring area, and understand the bottom type.
Very often because of bubbles/turbulence around the transducer. Check placement and alignment first, then adjust settings.
2D for versatility, down imaging for structure under the boat, side imaging for wide scouting. Many boaters like a combo view (2D + down imaging or 2D + side imaging).
At sea, stability and reliability are often priorities. Wired installs with a well-positioned transducer are usually the most consistent.
Not required to read the bottom, but very useful if you want an expandable, coherent setup with multiple instruments.