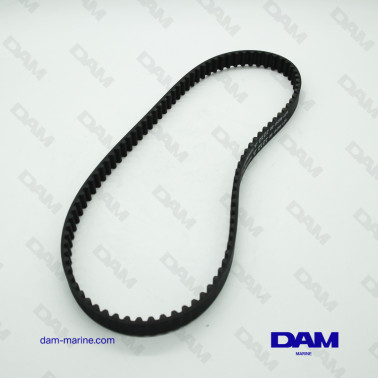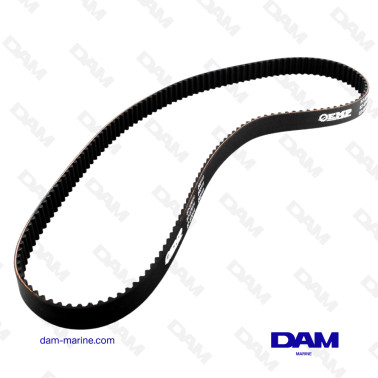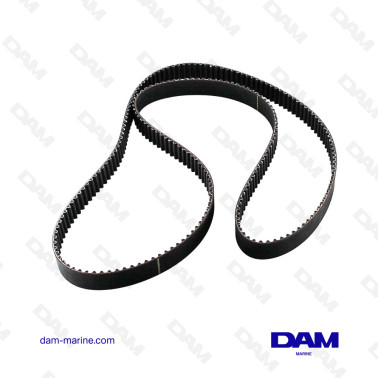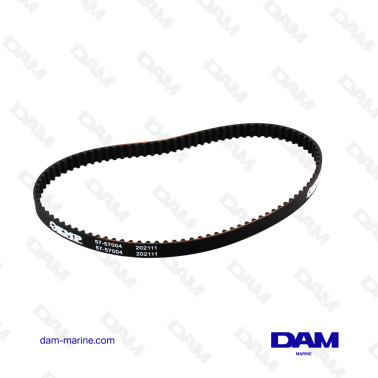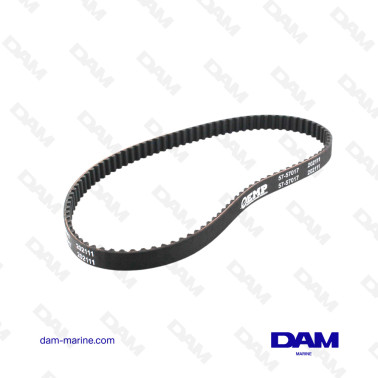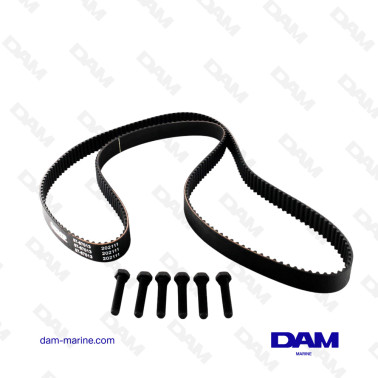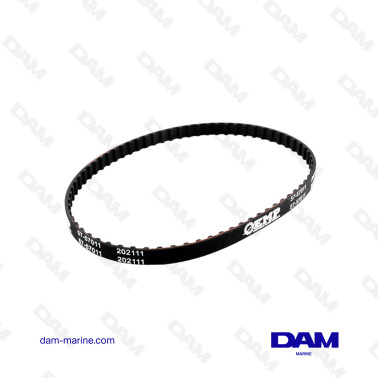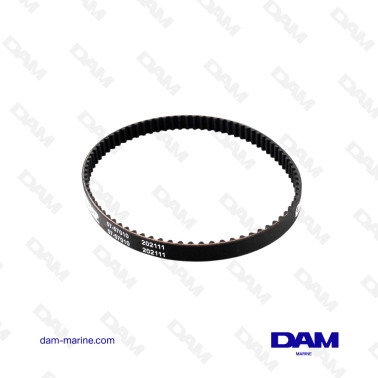

How do I identify the correct reference for my Yamaha engine?
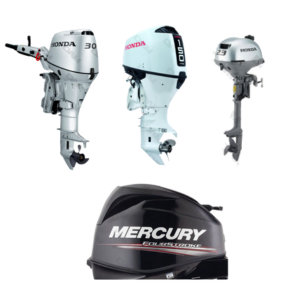
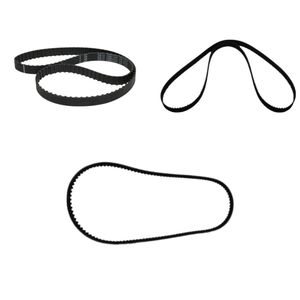
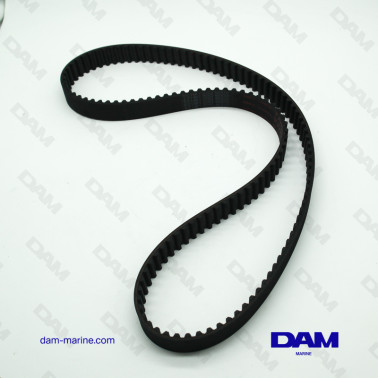
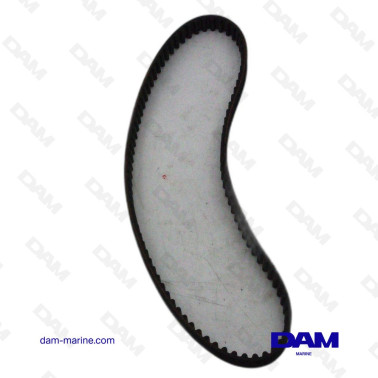
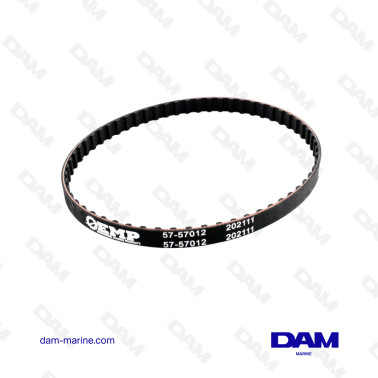
There is no universal belt. The exact reference depends on the displacement, model and generation of your outboard.
Professional tip: always rely on the manufacturer plate located on the engine mounting bracket. Note the exact model code and year before ordering.
Important: not all Yamaha 4-stroke engines have a belt. Some large blocks use a timing chain, lubricated inside the engine, with completely different maintenance requirements. If in doubt, check your owner's manual or use our parts selector.
What are the signs of premature wear?
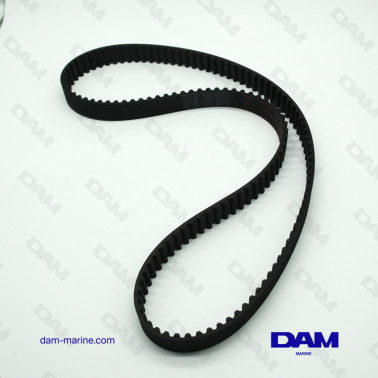
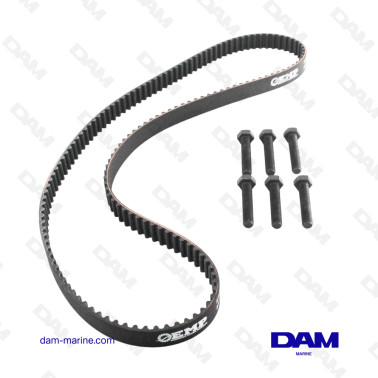
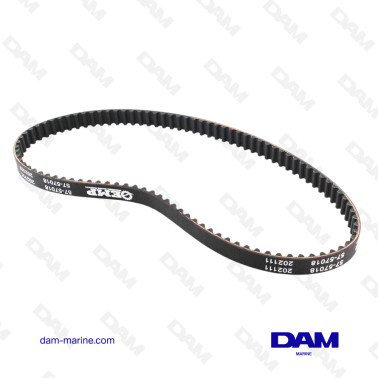
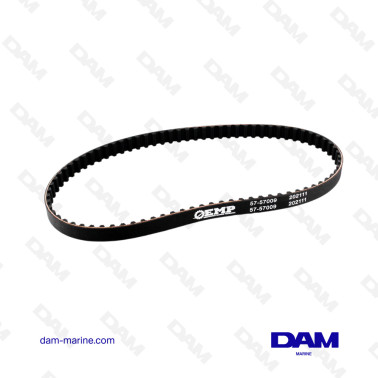
Although the belt must be replaced according to the manufacturer's service-hour recommendations, a visual inspection under the cover is essential at every service to detect abnormal wear:
- Oil-soaked rubber or oil marks: often caused by a leaking oil seal on the crankshaft or camshaft. Oil attacks the rubber, which swells and weakens. The leak must be repaired before fitting the new belt.
- Cracks at the base of the teeth: immediate replacement is required, as failure is close.
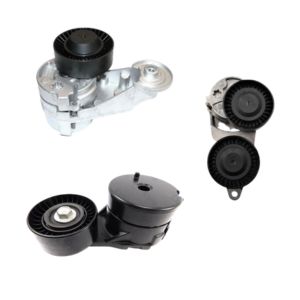
- Frayed edges: this indicates an alignment problem or a tensioner pulley with a tired bearing.
- Suspicious noise or a pulley that scrapes: in a marine environment, salt and humidity are hard on pulley bearings. A noisy pulley must be replaced, otherwise it can destroy the new belt.
What are the golden rules for installation?
If you carry out the operation yourself, these are the absolute points to watch:
- Timing first: align the crankshaft and camshaft marks with the engine block marks before even releasing tension from the old belt.
- Never force anything: on an interference engine, never rotate the crankshaft or camshaft independently once the belt has been removed.
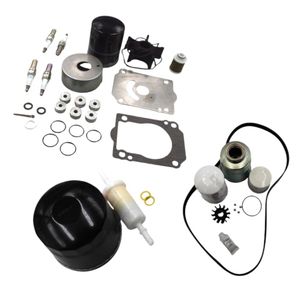
- Replace peripheral parts: replacing a belt without changing a tired tensioner pulley is false economy. Use the dismantling operation to start again on a sound basis.
- Take care of the part: never fold or twist the new belt during installation. The internal fibreglass cord can break without any visible mark on the outer rubber.
- The final check: once the belt is fitted and tensioned, always turn the crankshaft two full revolutions by hand. Then recheck perfect alignment of the marks before reassembling everything.